 Save to Pinterest
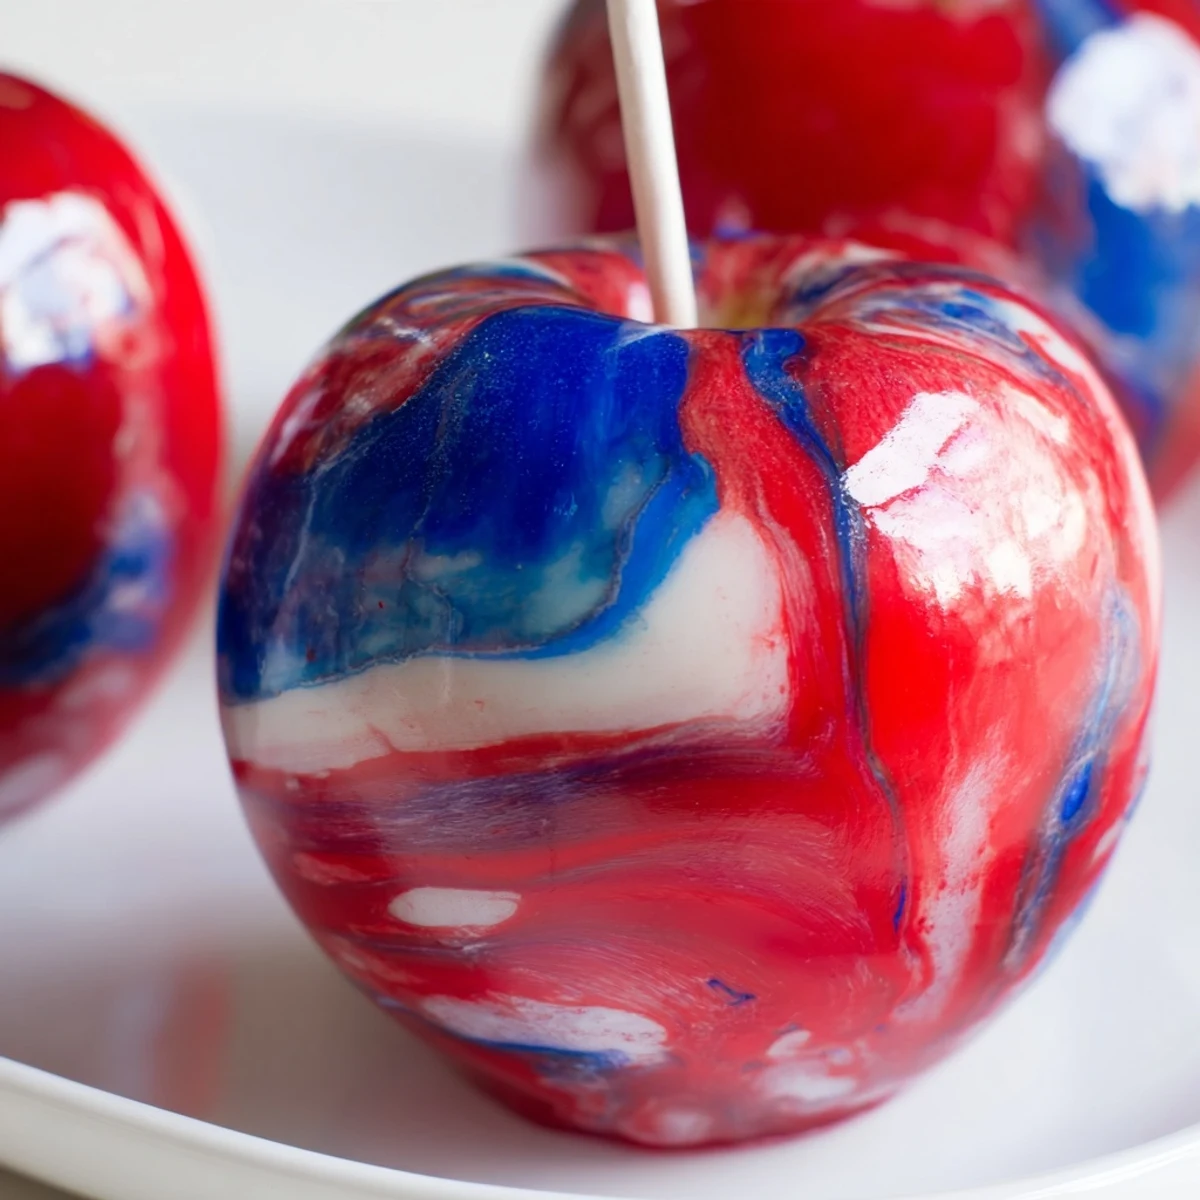
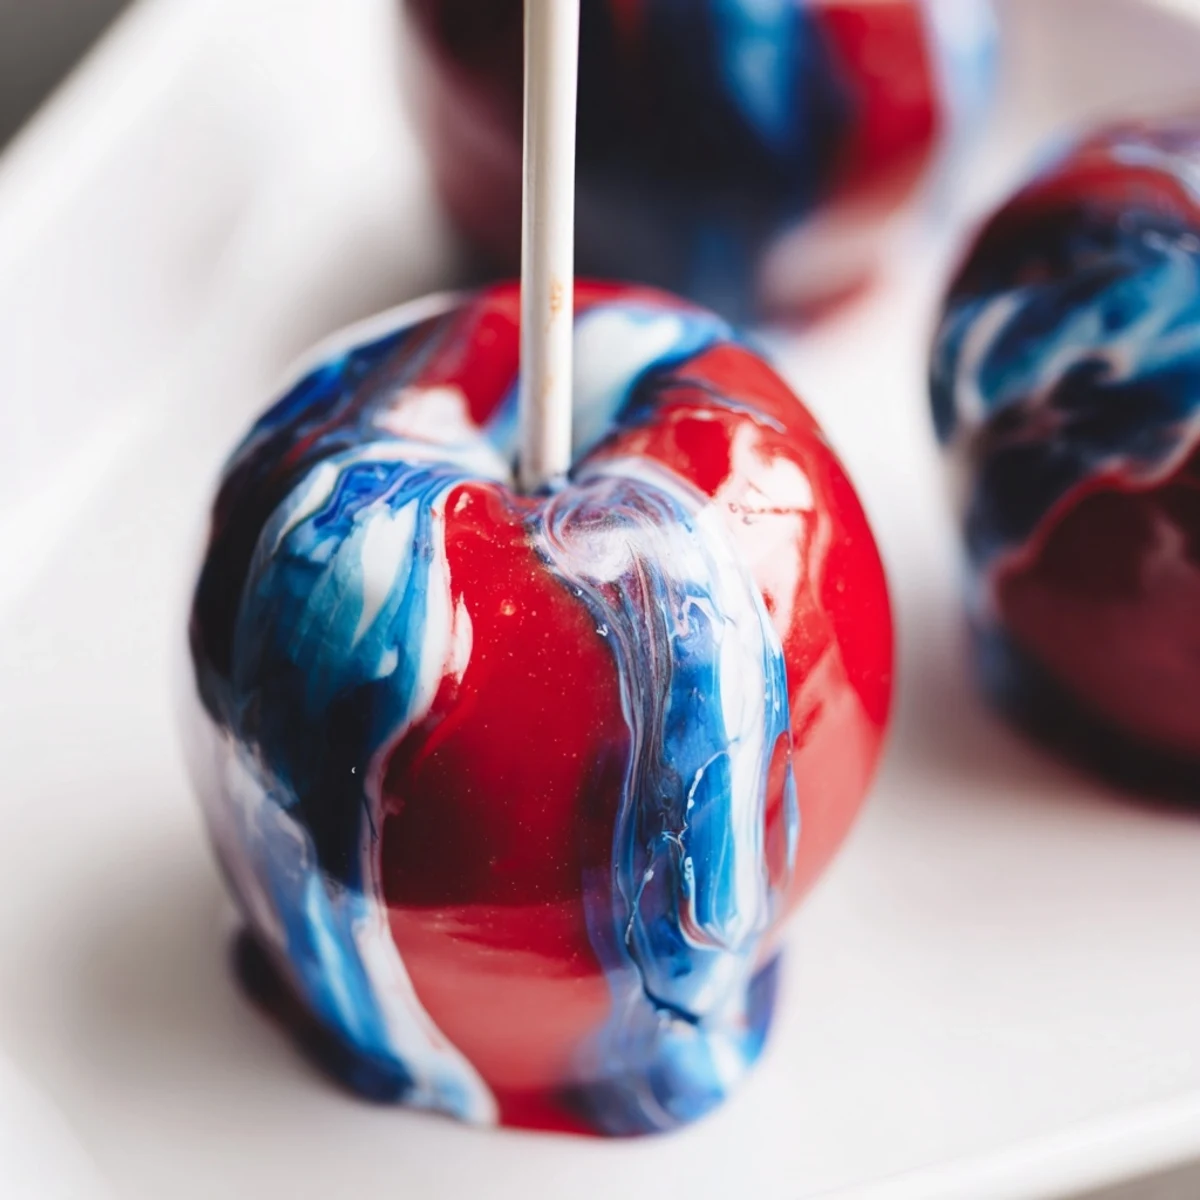
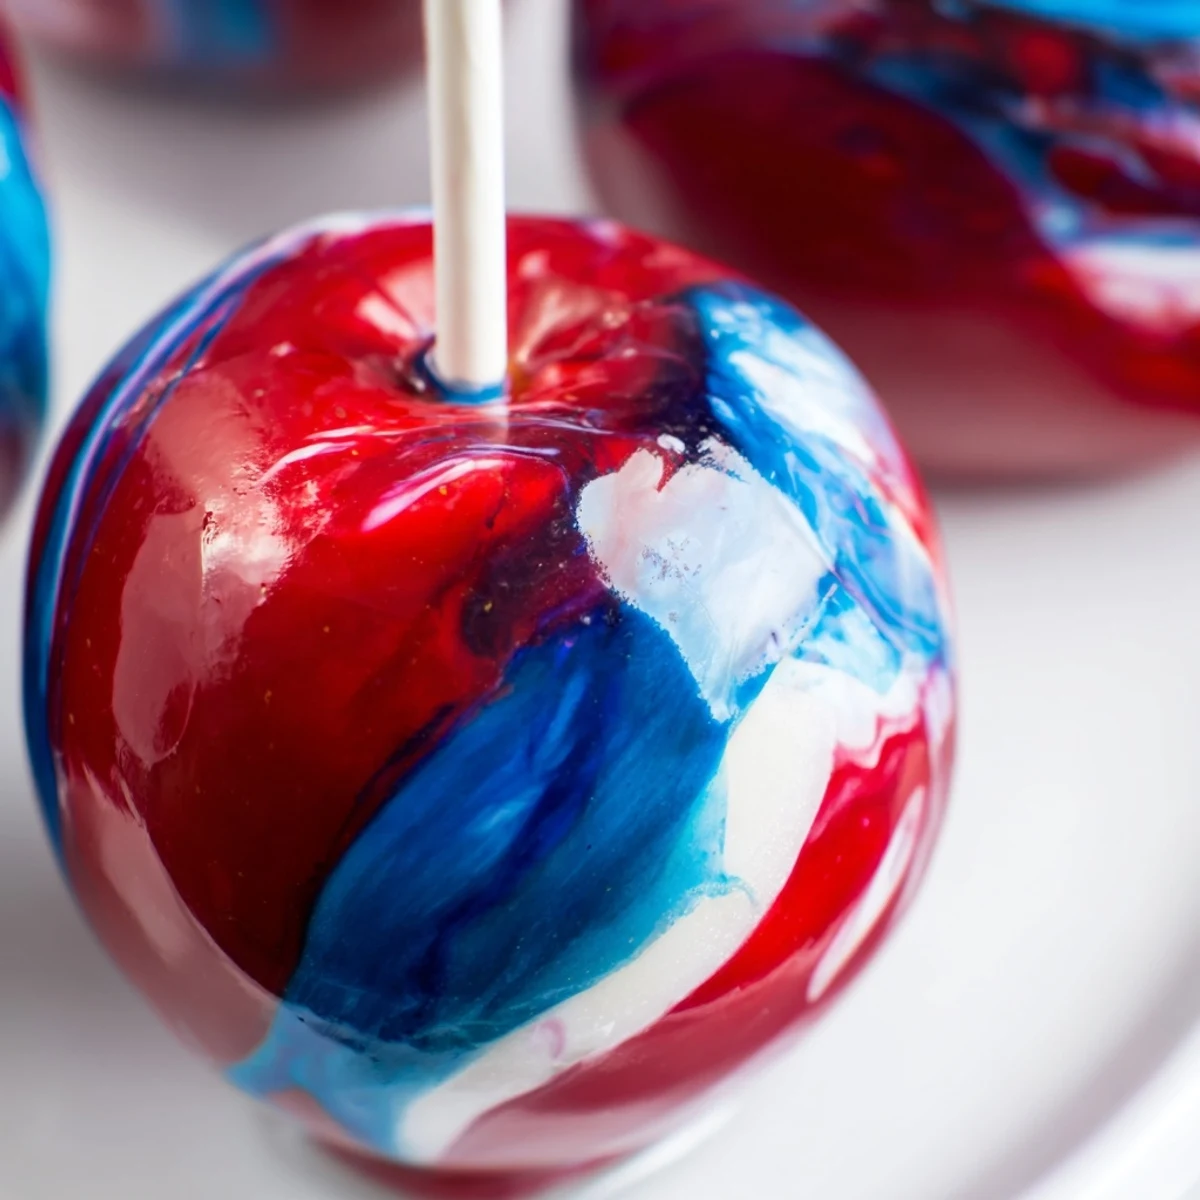
 These marbled candy apples feature crisp apples coated in a glossy, vibrantly swirled candy shell that creates a stunning visual effect. The technique involves making a hard candy coating with sugar, corn syrup, and water, then adding gel food colorings in streaks to create the marbled pattern. Each apple is dipped individually, allowing the colors to blend naturally while maintaining distinct streaks for an artistic finish. Perfect for parties, holidays, or whimsical dessert tables, these treats combine visual appeal with classic candy apple flavor.
The first time I attempted marbled candy apples, I stood in my kitchen mesmerized as the colors swirled together like tiny edible galaxies. I was preparing treats for my niece's birthday party, and honestly, I was intimidated by the whole candy thermometer situation. But when that first apple emerged with its crystalline shell twisting red, white, and blue like spun sugar art, I felt like an alchemist who'd stumbled onto something magical.
Last Halloween, I made a batch with orange and black swirls that disappeared from the dessert table within minutes. Kids and adults alike were drawn to them like magnets, each one insisting on choosing their own patterned apple as if picking out jewelry. There's something deeply satisfying about serving food that makes people pause and genuinely marvel before taking that first satisfying crunch.
Ingredients
- 8 medium apples: Granny Smith or Fuji varieties hold up beautifully against the sweet coating and provide perfect tart contrast
- 8 sturdy wooden sticks: Insert them firmly into the stem end before you start cooking the candy syrup
- 2 cups granulated sugar: The foundation of your candy shell, so measure precisely for consistent results
- 3/4 cup water: Helps dissolve the sugar evenly and prevents scorching during the initial heating phase
- 1/2 cup light corn syrup: This prevents crystallization and gives your coating that gorgeous glass like shine
- 1/2 tsp vanilla extract: Optional, but adds a lovely depth that balances the intense sweetness
- Red, blue and white gel food coloring: Gel coloring is essential here because liquid coloring can seize your hot sugar mixture
Instructions
- Prepare your workspace:
- Line a large baking sheet with parchment paper or a silicone mat, then insert wooden sticks into each apple's stem end, pressing firmly until secure
- Combine the base ingredients:
- In a heavy bottomed saucepan, stir together sugar, water and corn syrup over medium heat until the sugar completely dissolves
- Reach the hard crack stage:
- Increase heat to high and boil without stirring until your candy thermometer hits 300 degrees, then remove from heat immediately
- Create the marble effect:
- Stir in vanilla if using, then add drops of red, blue and white gel coloring, swirling gently with a skewer just enough to create streaks without fully blending
- Coat each apple:
- Hold apples by their sticks and dip one at a time into the hot syrup, turning to coat evenly while letting excess drip back into the pan
- Set and cool:
- Place coated apples on your prepared sheet to harden for about 15 minutes, swirling syrup briefly between dips to keep the marble effect fresh
 Save to Pinterest
 My daughter now requests these for every school celebration, and I've learned to make extras because teachers inevitably ask for the recipe. Something about those swirling colors feels like pure celebration, turning a simple autumn tradition into a moment of genuine kitchen magic.
Choosing Your Apples
I've tested countless varieties, and crisp tart apples like Granny Smith or Fuji consistently perform best because their firm texture stands up to the heavy candy coating. Avoid overripe apples as they can release moisture that creates stubborn bubbles in your sugar shell. Smaller apples are easier to coat evenly and more manageable for eating, so seek out medium sized fruits at the market.
Perfecting Your Marbling Technique
The secret to stunning marbling lies in restraint, barely swirling the colors together so they remain distinct rather than muddy. I work quickly after adding the gel coloring, dipping immediately while the syrup is still fluid and the colors are vibrant. Each apple will look unique, which is part of their charm, so don't stress about achieving identical patterns.
Timing Your Dipping Session
The candy syrup will remain workable for several minutes off the heat, but do keep an eye on the consistency as it cools. I recommend having all your apples prepped and sticks firmly inserted before you even start cooking the sugar mixture. Once the syrup reaches temperature, everything moves fast and you'll want total focus on the dipping process.
- Keep your dipping angle consistent for even coverage
- Rotate slowly rather than swirling vigorously
- Tap gently against the pan edge to remove excess syrup
 Save to Pinterest
 There's pure joy in breaking through that glossy candy shell and hearing the satisfying crack against the crisp apple beneath. These marbled beauties transform any gathering into something special.
Recipe FAQs
- → What type of apples work best for candy coating?
-
Medium apples like Granny Smith or Fuji work best as they're firm enough to hold up during coating and provide good contrast with the colorful candy shell. Make sure to wash and thoroughly dry them before starting.
- → How do I achieve the marbled effect?
-
Add a few drops of different gel food colorings to the hot candy syrup, then gently swirl with a wooden skewer. Don't fully mix - you want visible streaks. The colors will create natural marbling as you dip each apple.
- → What's the hard crack stage and why is it important?
-
The hard crack stage is 300°F (150°C), where the sugar syrup becomes hard and brittle when cooled. This is crucial for creating a stable, non-sticky candy coating that will harden properly on the apples.
- → Can I use different color combinations?
-
Absolutely! Try festive combinations like red and green for Christmas, orange and black for Halloween, or pastels for spring. The marbling technique works with any color combination.
- → How long do these candy apples last?
-
Store finished apples at room temperature for up to 24 hours. The candy shell will harden and maintain its glossy appearance. Avoid refrigerating as it can make the coating sticky.
