 Save to Pinterest
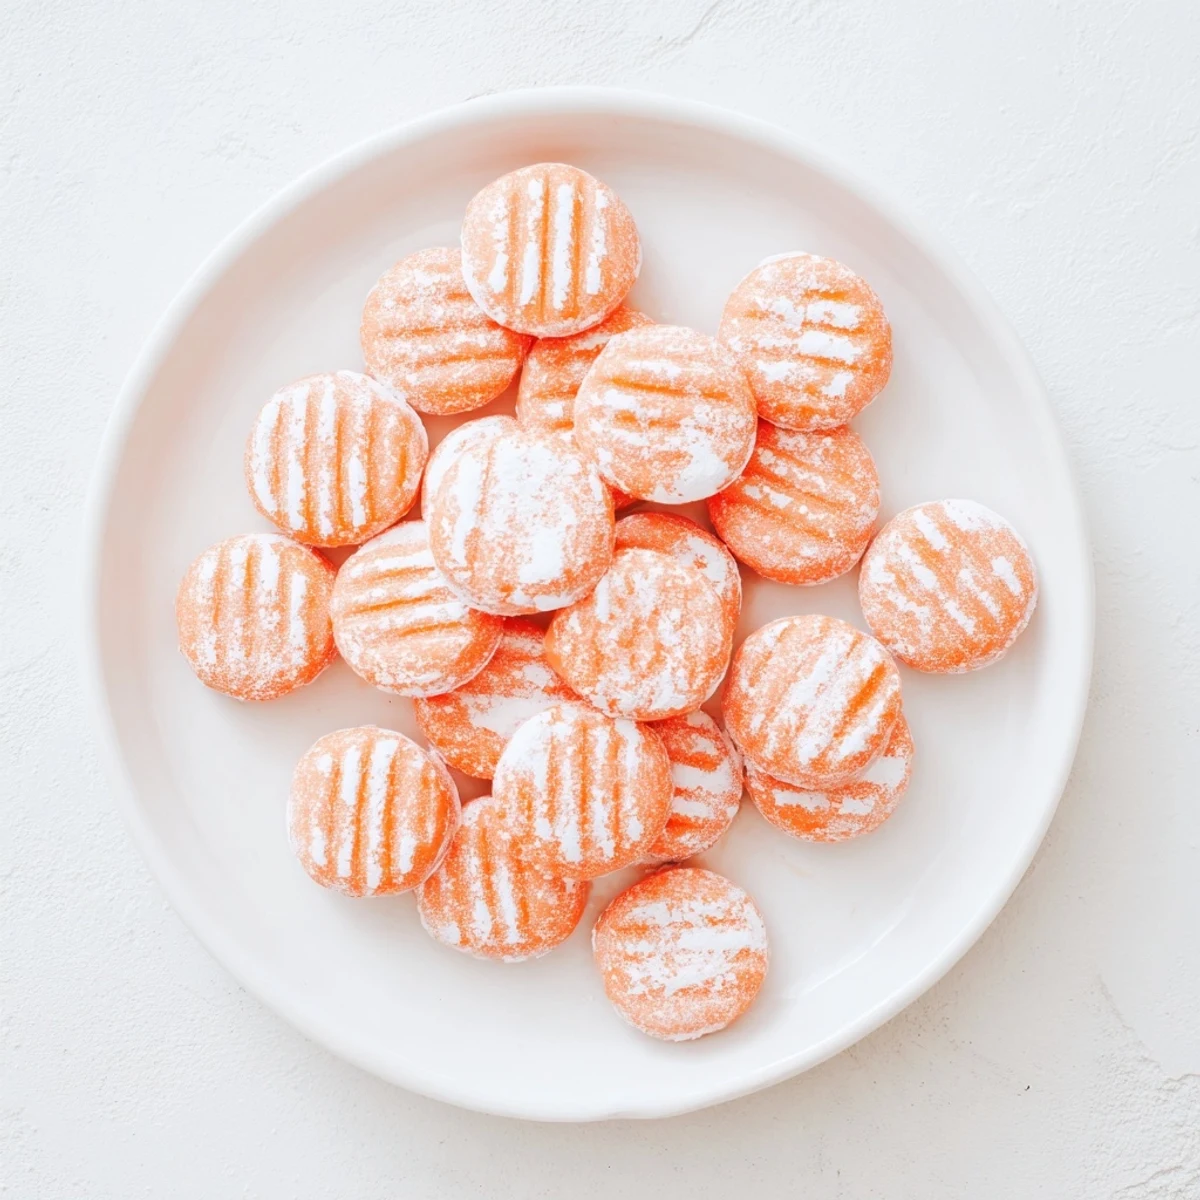
 These delicate orange mints combine softened cream cheese and butter with zesty orange extract, creating a smooth dough that chills into firm, bite-sized treats. The result is a creamy confection that literally melts on your tongue, leaving behind refreshing citrus notes.
Mixing takes mere minutes—simply beat the softened dairy base until smooth, incorporate orange flavoring and your desired food coloring, then gradually work in sifted powdered sugar until a workable dough forms. Roll into small balls, flatten gently with a fork to create ridges, and chill until firm.
The beauty lies in their versatility: customize the orange shade to match any event theme, from pastel spring showers to vibrant autumn gatherings. They keep beautifully for a week refrigerated or freeze for up to two months, making them excellent for advance prep.
The first time I made these orange cream cheese mints was for my sister's baby shower. I had three hours to prepare something special and these little confections saved me. They disappeared faster than the fancy store-bought desserts I had also ordered.
My grandmother used to make similar mints for holiday gatherings, always setting them in crystal dishes on her sideboard. She taught me that the secret lies in patience during the chilling step. Now I make them every Christmas and they have become expected rather than optional.
Ingredients
- Cream cheese: Use full-fat and let it soften completely at room temperature for at least 2 hours. Cold cream cheese creates lumpy dough that ruins the silky texture.
- Unsalted butter: Softened butter helps the dough come together smoothly without overworking the mixture.
- Orange extract: Pure extract gives the most authentic citrus flavor. Avoid imitation versions which taste artificial and chemical.
- Powdered sugar: Sifting prevents lumps and ensures smooth dough. Start with 2 1/2 cups and only add more if the dough feels too sticky to handle.
- Orange food coloring: Gel-based coloring works best as liquid can thin the dough. Add drop by drop until you reach your desired shade.
Instructions
- Prepare the creamy base:
- Beat the softened cream cheese and butter together until completely smooth with no visible lumps. This takes about 2-3 minutes with an electric mixer on medium speed.
- Add the orange essence:
- Pour in the orange extract and add food coloring drop by drop. Mix thoroughly until the color is evenly distributed throughout the white base.
- Build the dough:
- Gradually add powdered sugar, half a cup at a time, beating well after each addition. Stop adding sugar when the dough holds together cleanly but still feels soft and pliable.
- Taste and adjust:
- Sample a small piece of dough and add more extract if you want stronger orange flavor. The sweetness should be present but not overpowering.
- Shape the mints:
- Dust your counter generously with powdered sugar. Roll dough into 3/4-inch balls, then flatten each one gently with a fork or thumb. The fork tines create a pretty pattern on top.
- Chill until firm:
- Arrange mints on parchment paper and refrigerate for at least one hour. This step is non-negotiable as the mints need time to set properly.
 Save to Pinterest
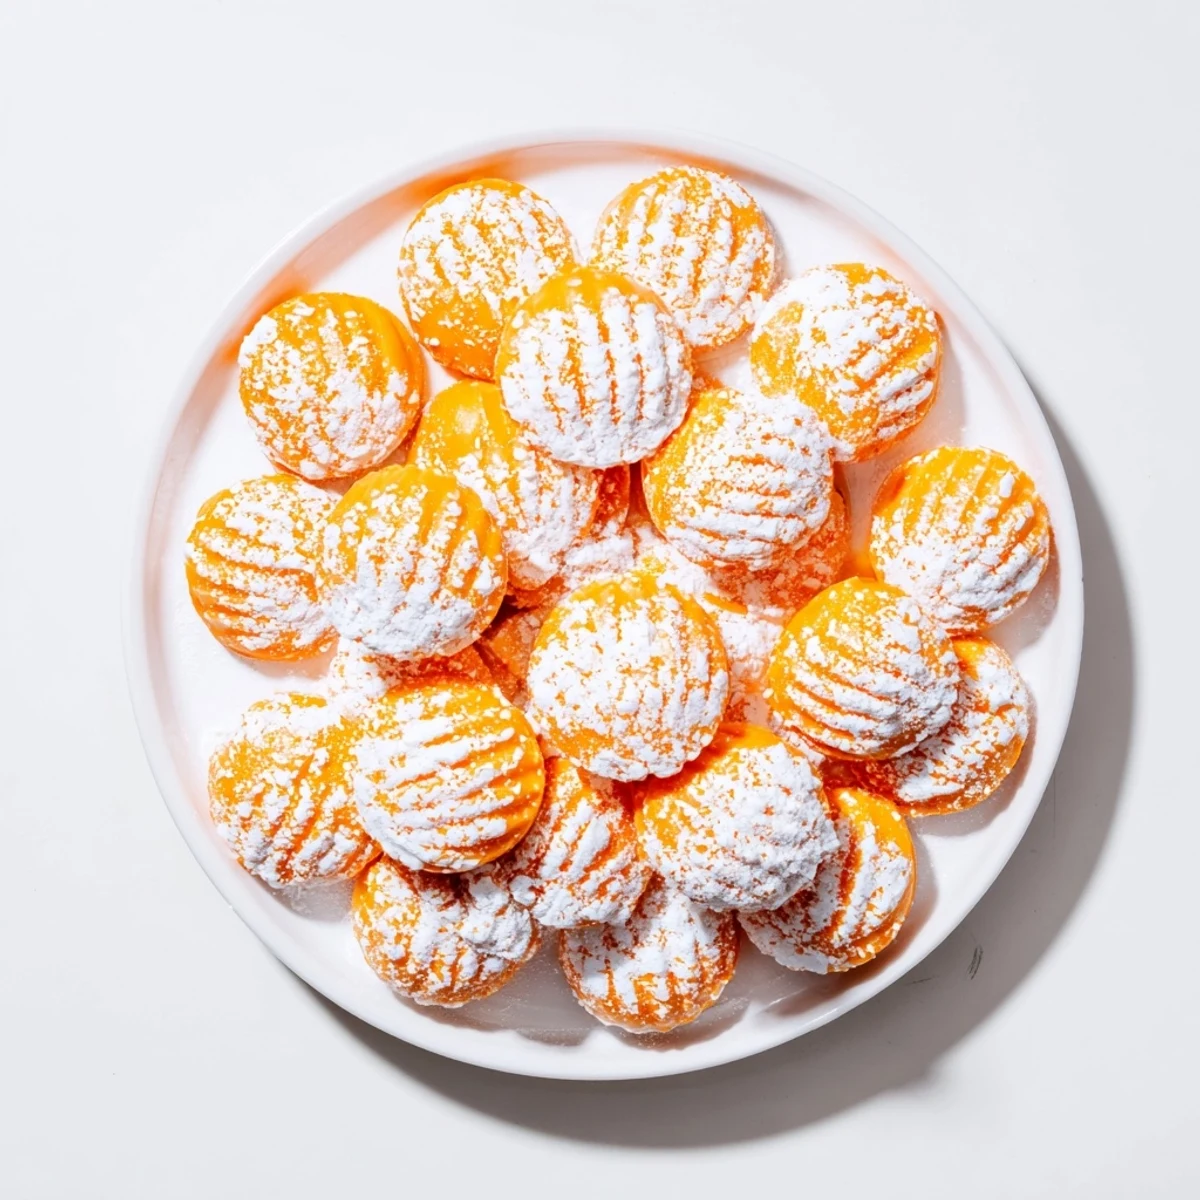
 Last Easter, my niece asked if we could make rainbow mints instead of just orange. We divided the dough into six portions and colored each one differently. The kids had so much fun shaping them and the platter looked like spring exploded on the table.
Getting Creative with Shapes
Simple fork marks are classic, but you can also use patterned stamps, cookie cutters for uniform shapes, or roll the dough into ropes and cut small pillow-shaped pieces. The texture stays the same regardless of shape, so let your creativity guide you.
Flavor Variations to Try
While orange is traditional, these mints work beautifully with lemon, lime, peppermint, or almond extract. You can also add finely shredded citrus zest for extra flavor dimension. Just remember that zest adds moisture so you may need slightly more powdered sugar.
Storage and Make-Ahead Tips
These mints actually improve after a day in the refrigerator as the flavors meld together. They freeze beautifully for up to two months if layered between parchment paper in an airtight container. Thaw overnight in the refrigerator before serving.
- Place a piece of bread in the storage container to keep mints from drying out
- Separate layers with wax paper to prevent sticking
- Bring to room temperature for 10 minutes before serving for the softest texture
 Save to Pinterest
 These little mints have become my go-to contribution for every celebration. There is something deeply satisfying about handing someone a homemade candy that makes their eyes light up with pure delight.
Recipe FAQs
- → How long do these mints need to chill before serving?
-
Plan for at least one hour of chilling time in the refrigerator. This step is crucial—the mints need to firm up completely so they hold their shape when handled. For best results, let them chill uncovered on the parchment-lined tray, then transfer to an airtight container once firm.
- → Can I make these mints ahead of time?
-
Absolutely. These mints actually improve after a day in the refrigerator as the flavors meld together. They stay fresh for up to one week when stored properly in an airtight container. For longer storage, freeze them for up to two months—just thaw in the refrigerator before serving.
- → What's the best way to get consistent sizing?
-
Use a small cookie scoop or measuring spoon to portion the dough—roughly 1 tablespoon per mint works well for standard size. If you want smaller bite-sized mints, use about 2 teaspoons of dough per piece. The key is keeping portions uniform so they chill evenly.
- → Can I substitute lemon extract for the orange?
-
Yes, lemon extract works beautifully in this same base. You could also try almond, peppermint, or raspberry extract. Just keep the amount the same—half a teaspoon provides plenty of flavor without becoming overpowering. Match your food coloring to the extract choice for a cohesive look.
- → Why is my dough too sticky to work with?
-
This typically means you need more powdered sugar. The humidity in your kitchen and the exact moisture content of your cream cheese can affect the dough consistency. Add sifted powdered sugar gradually—start with an additional half cup and mix thoroughly before adding more. The dough should feel like soft, pliable playdough.
- → Do these need to be stored in the refrigerator?
-
Yes, because of the cream cheese and butter base, these mints must be refrigerated. At room temperature, they'll become too soft and lose their shape. Serve them chilled or slightly cool—they actually taste better this way as the cold temperature enhances the creamy texture.
