
 Save to Pinterest
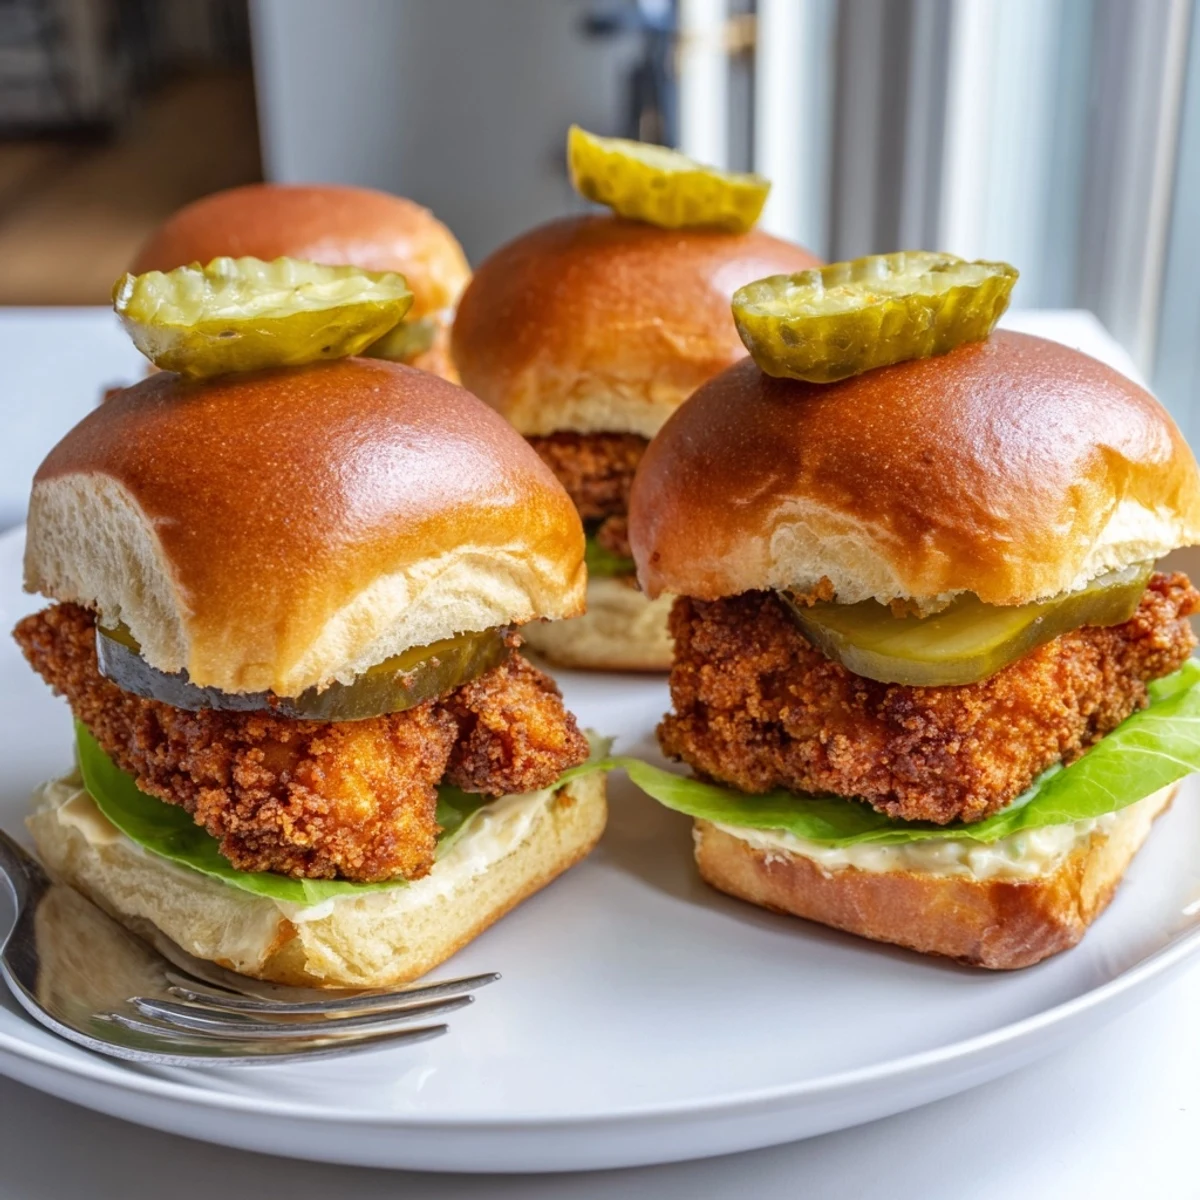
 These pickle brined fried chicken sliders deliver the ultimate combination of juicy, tender chicken with an shatteringly crispy coating. Soaking the chicken in dill pickle brine for at least two hours infuses every bite with tangy flavor while keeping the meat remarkably moist.
Each piece gets a double dip in seasoned flour and buttermilk for maximum crunch, then fries up golden brown in about 3 to 4 minutes per side. Layered on toasted slider buns with creamy mayo, crisp lettuce, and a dill pickle chip on top, they are crowd-pleasing comfort food at its finest.
Something happens to people when you put a miniature fried chicken sandwich in front of them. They lose all composure, grab it with both hands, and take a bite before you even finish setting the plate down. I learned this during a Super Bowl gathering where I made the mistake of plating these on the coffee table and turned around to grab napkins, only to find half of them gone before I got back. The pickle brine is the trick that makes everyone ask what you did differently, and honestly, it feels like cheating because it is that simple.
My friend Dave stood in my kitchen last Fourth of July, leaning against the counter, watching me pull chicken from a bowl of murky green liquid. He looked skeptical, maybe even a little concerned, and asked if I was sure about this. Two hours later he ate five of them and texted me the next morning asking for the recipe.
Ingredients
- Chicken thighs (1 lb, boneless and skinless): Thighs stay far juicier than breasts, especially after a hot oil bath, so trust me on this one.
- Dill pickle brine (1 cup): Straight from the jar, this salty tangy liquid breaks down the chicken and seasons it from the inside out.
- Hot sauce (1 teaspoon): Optional, but it adds a subtle background warmth that most people cannot quite identify.
- All purpose flour (1 cup): The backbone of your breading, creating structure for that golden shell.
- Cornstarch (half cup): This is the secret to extra crunch, lightening the flour and creating air pockets that crisp beautifully.
- Garlic powder (1 teaspoon): Even distribution of garlic flavor without burning raw cloves in hot oil.
- Onion powder (1 teaspoon): Adds savory depth that rounds out the seasoning blend perfectly.
- Smoked paprika (1 teaspoon): A hint of smoke makes the chicken taste like it spent time on a grill, even though it never did.
- Salt and black pepper (1 teaspoon and half teaspoon): Essential baseline seasoning that balances all the tang from the brine.
- Buttermilk (1 cup): The wet dip between flour coatings helps build layers and adds its own gentle tang.
- Vegetable oil: You need about 2 inches in a deep skillet, enough so the chicken floats and cooks evenly.
- Slider buns (8): Soft, slightly sweet buns are the ideal pillow for something this crispy and salty.
- Dill pickle slices (8): Full circle moment, bringing the brine story back around in every bite.
- Mayonnaise (quarter cup): A thin spread adds richness and helps anchor the lettuce.
- Lettuce leaves: Fresh crunch and a cool contrast to the hot crispy chicken.
Instructions
- Marinate the chicken:
- Toss the chicken pieces into a bowl with the pickle brine and hot sauce, give it a stir, cover it up, and tuck it in the fridge for at least 2 hours or up to 8 if you want maximum flavor penetration.
- Dry the chicken:
- Pull each piece from the brine and pat it thoroughly dry with paper towels so the breading actually sticks instead of sliding off in the oil.
- Set up your stations:
- Whisk the flour, cornstarch, garlic powder, onion powder, paprika, salt, and pepper in one shallow bowl, and pour the buttermilk into another so you have a smooth assembly line ready.
- Bread the chicken:
- Dredge each piece in the flour mix, dunk it in buttermilk, then back into the flour, pressing gently so every surface is coated in a thick, shaggy layer.
- Heat the oil:
- Pour about 2 inches of oil into a deep skillet and bring it to 350 degrees Fahrenheit, checking with a thermometer because guessed temperatures lead to soggy or burnt chicken.
- Fry until golden:
- Lower the chicken in batches, careful not to crowd the pan, and fry 3 to 4 minutes per side until the crust is deep golden and the inside reads 165 degrees.
- Toast the buns:
- While the chicken rests on a wire rack, split the slider buns and toast them cut side down in a dry pan for about 30 seconds until lightly golden.
- Build your sliders:
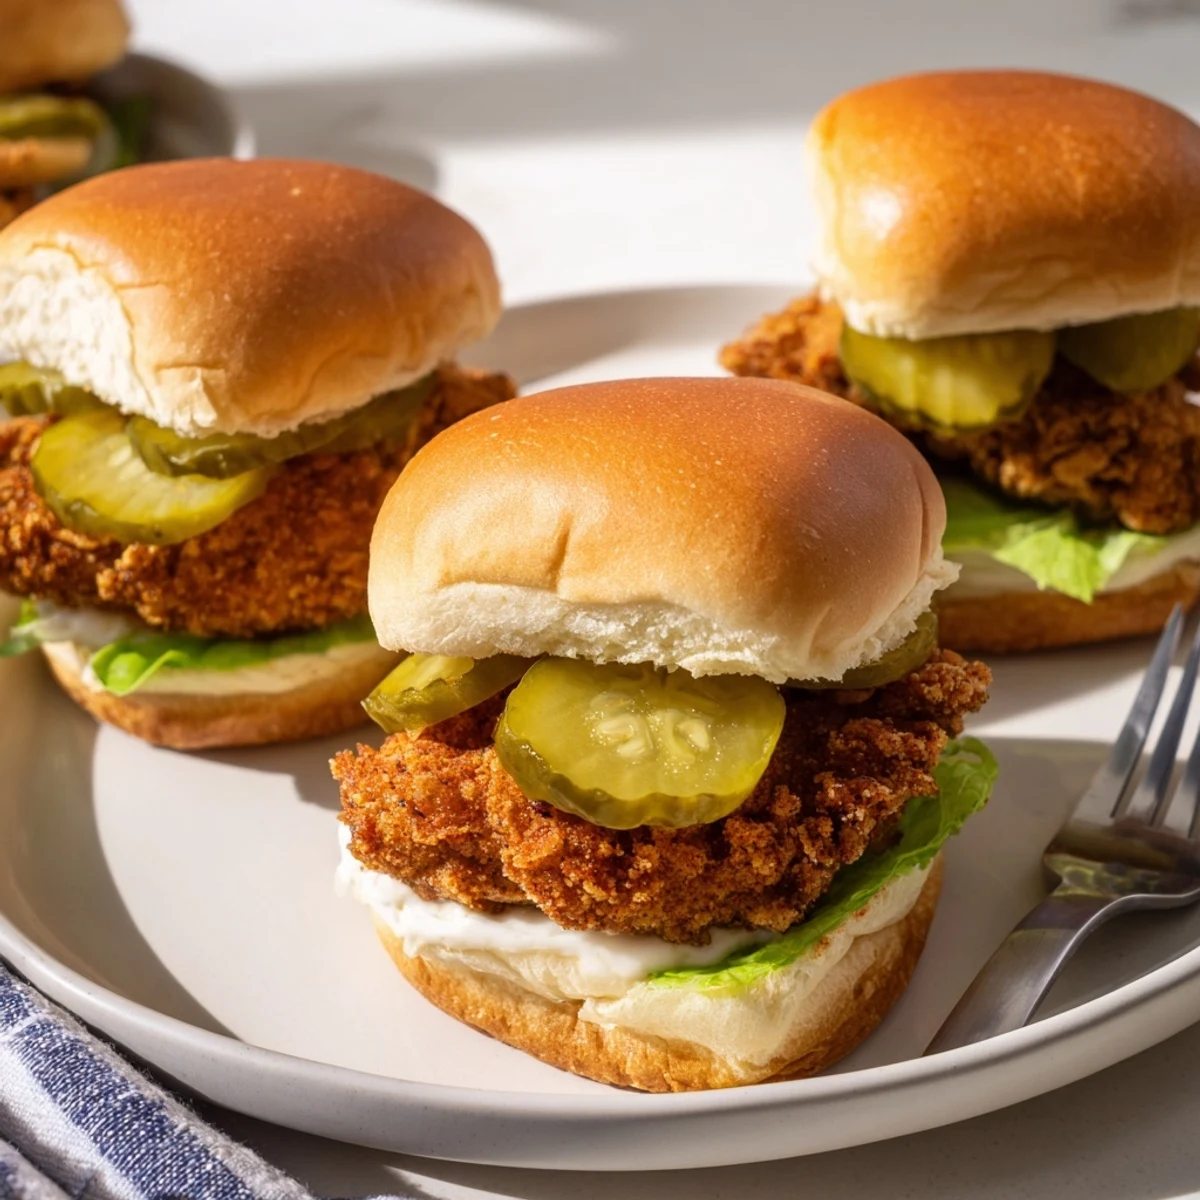
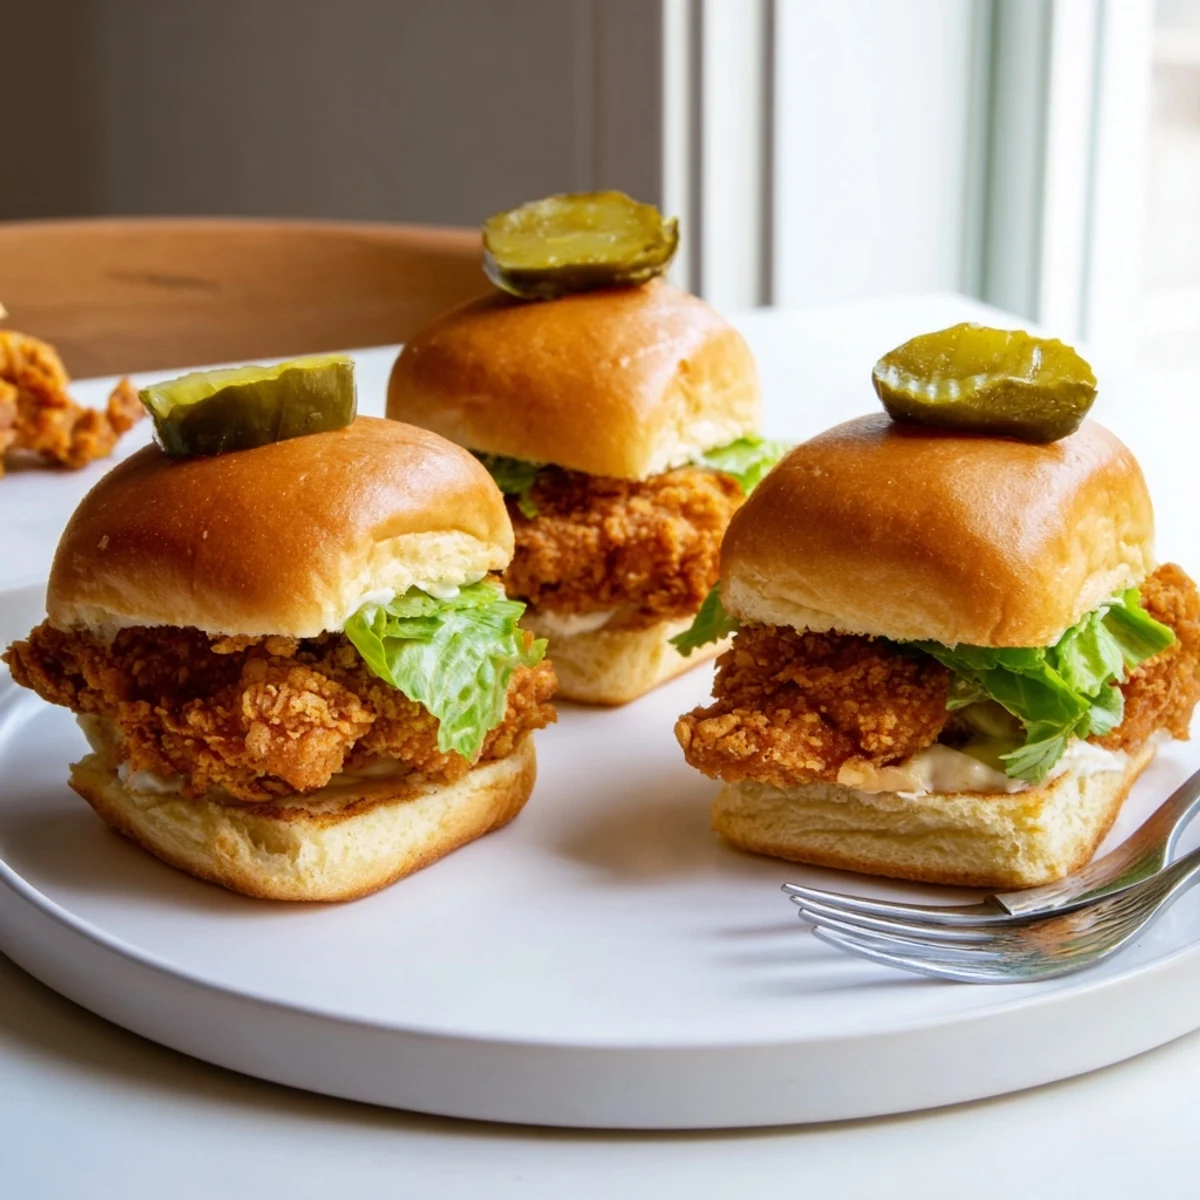
- Spread a thin layer of mayo on the bottom bun, layer on a lettuce leaf, set the chicken on top, crown it with a pickle slice, and press the top bun down gently.
 Save to Pinterest
 I have watched grown adults fall silent mid sentence after biting into one of these sliders, and that brief pause of pure satisfaction is honestly my favorite kind of kitchen reward.
Getting the Oil Temperature Right
Oil temperature is the single factor that separates greasy disappointing fried chicken from the kind people beg you to make again. Use a thermometer every single time, and let the oil come back up to temperature between batches because adding cold chicken drops it fast.
Choosing the Right Cut
Chicken thighs will always reward you with more moisture and flavor than breasts, especially in a quick fry where the margin for overcooking is slim. If you prefer white meat, pull it from the oil the moment it hits 165 degrees internally.
Serving Ideas and Twists
These sliders disappear so fast at parties that I usually double the batch and still end up with none left over. A few easy upgrades can shift the whole flavor profile without much extra effort.
- Stir a spoonful of sriracha into the mayo for spicy sliders that pair perfectly with a cold drink.
- Top with a small pile of creamy coleslaw for extra crunch and a cool contrast to the hot crust.
- Always serve them immediately while the breading is still crackling and the bun has not had time to soften.
 Save to Pinterest
 Keep these warm in a low oven if you are feeding a crowd, and watch how fast a full platter becomes an empty one. That is the pickle brine working its quiet magic.
Recipe FAQs
- → How long should I marinate the chicken in pickle brine?
-
For the best results, marinate the chicken pieces for at least 2 hours. You can extend the marinating time up to 8 hours for even more tangy flavor, but avoid going beyond that as the brine can start to make the meat too salty or mushy in texture.
- → Can I use chicken breasts instead of thighs?
-
Yes, boneless skinless chicken breasts work fine. However, chicken thighs have a higher fat content and will yield juicier, more flavorful sliders. If using breasts, be careful not to overcook them during frying to prevent dryness.
- → What oil temperature is best for frying the chicken?
-
Heat the oil to 350°F (175°C) for optimal frying. Using a thermometer is highly recommended to maintain this temperature. If the oil is too cool, the breading absorbs grease and becomes soggy. If too hot, the outside burns before the chicken cooks through.
- → Can I make these sliders ahead for a party?
-
You can marinate the chicken up to 8 hours ahead and prepare the seasoned flour mixture in advance. Fry the chicken just before serving for the crispiest results. If needed, keep fried chicken warm on a wire rack in a 200°F oven for up to 30 minutes without losing too much crunch.
- → What can I substitute for buttermilk in the breading?
-
If you do not have buttermilk on hand, add one tablespoon of lemon juice or white vinegar to one cup of regular milk and let it sit for five minutes. This creates a similar acidity that helps the flour coating adhere properly and contributes to a tender crust.
- → How do I get the crispiest coating on the chicken?
-
The double-dredge method is key. Dip each piece in flour, then buttermilk, then flour again. Press the flour firmly onto the chicken during each coating step. Also, ensure your oil is at the correct temperature and avoid crowding the pan, which drops the oil temperature and leads to greasy breading.