 Save to Pinterest
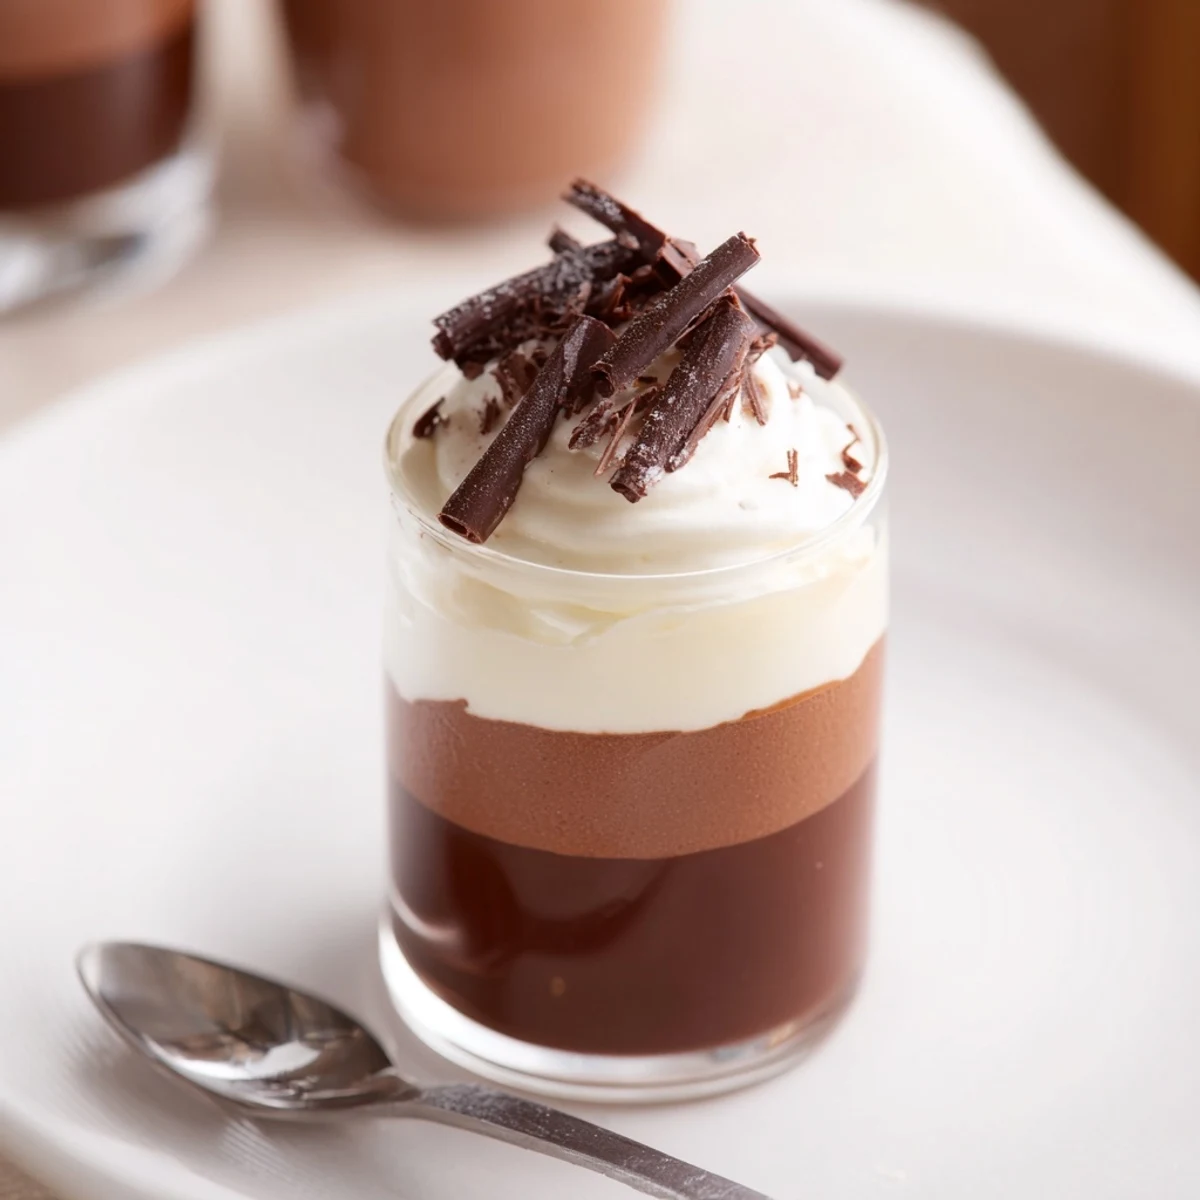
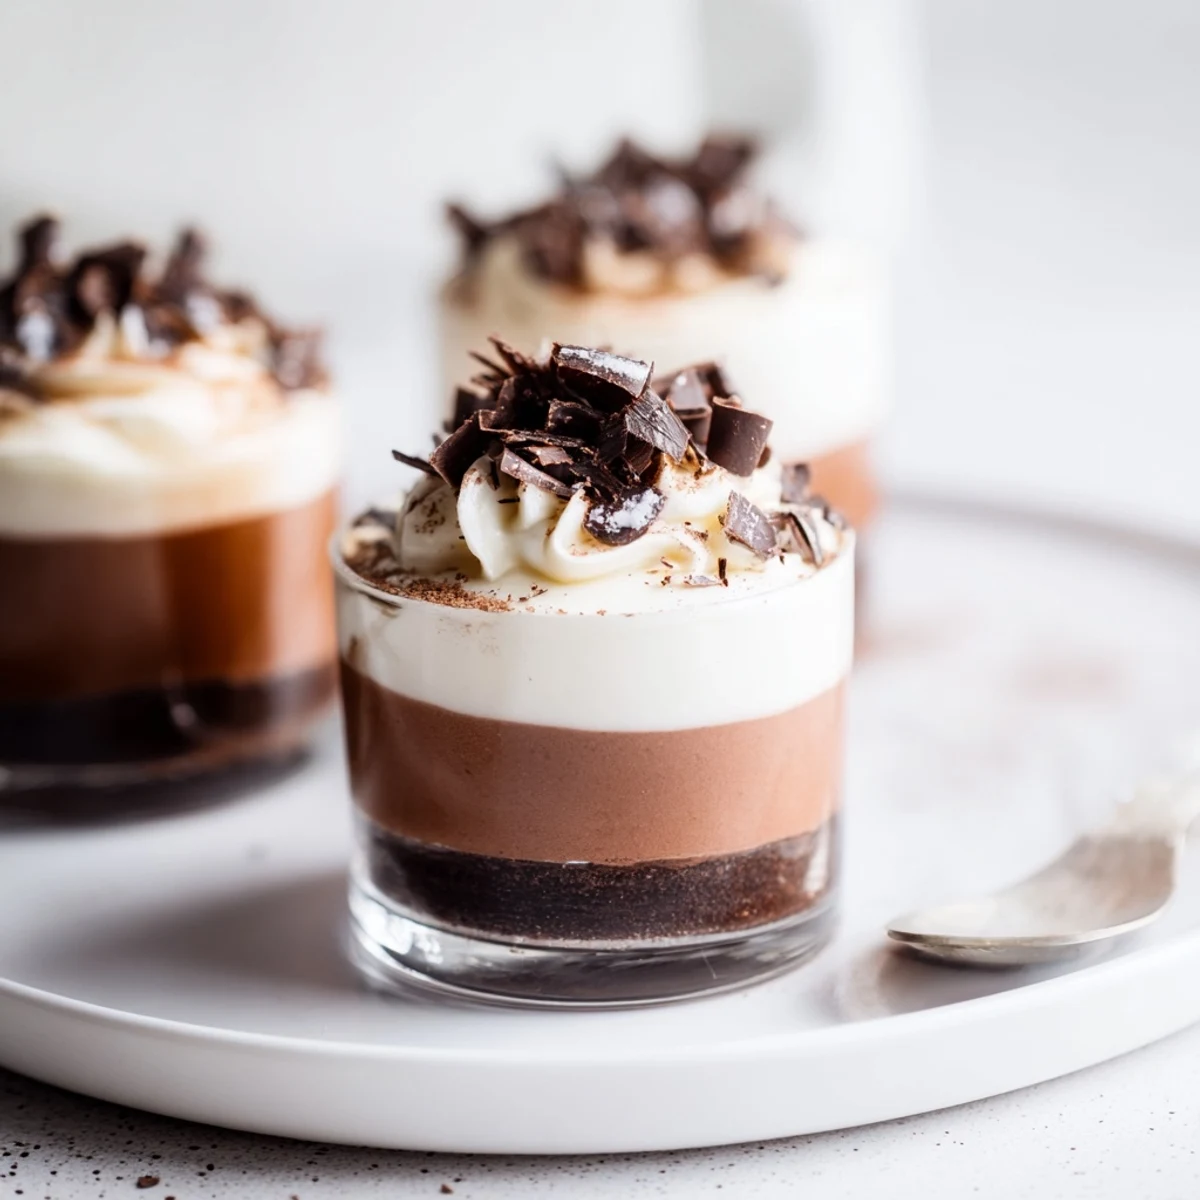
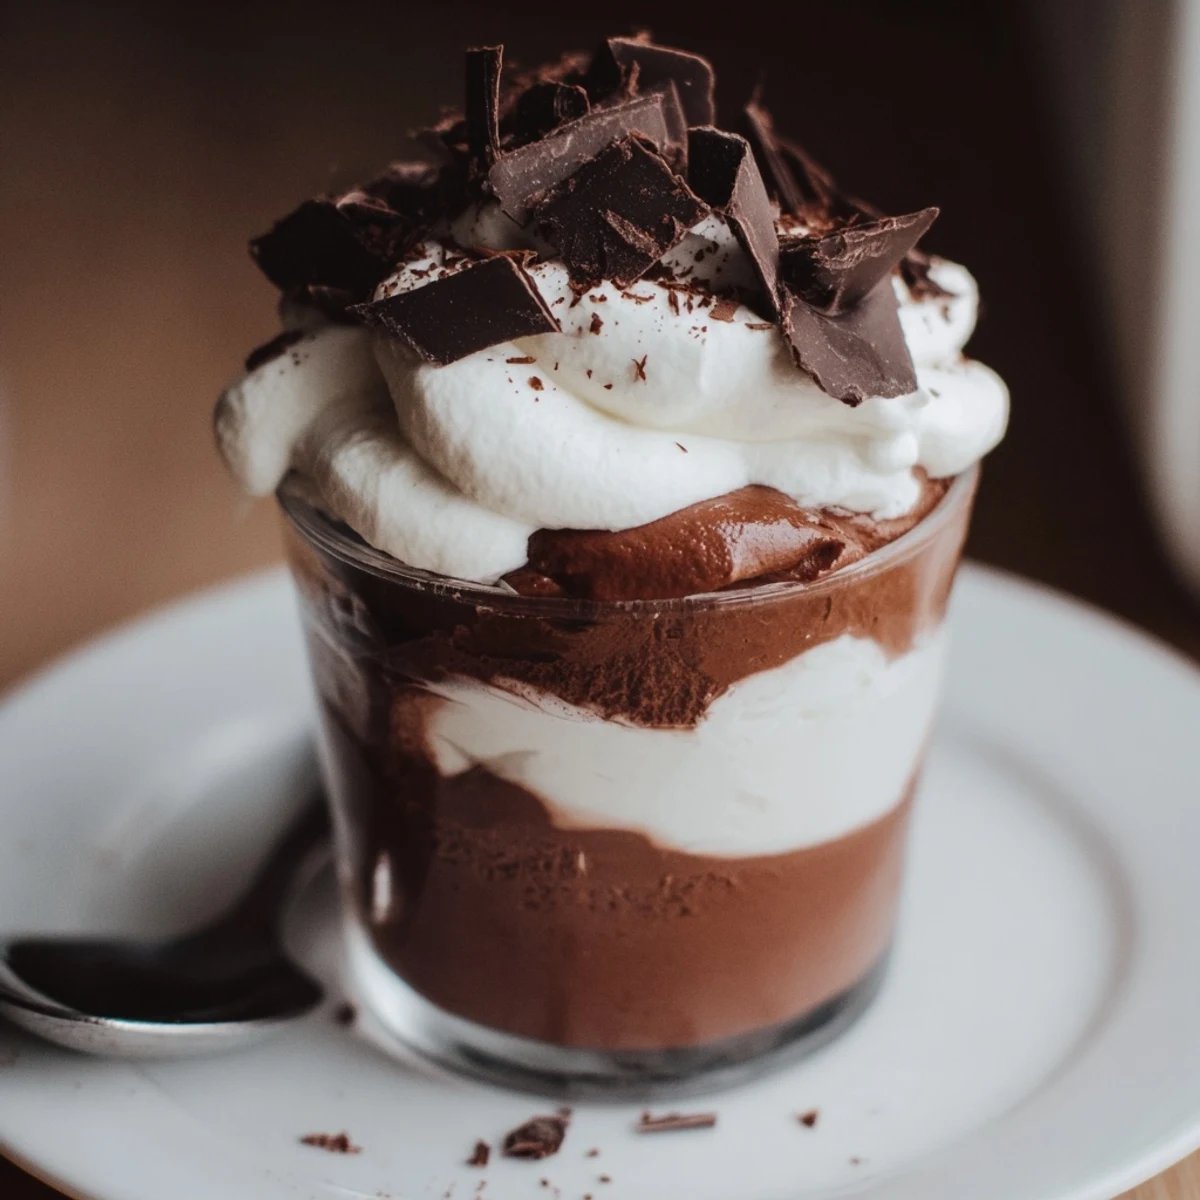
 Layer three silky mousses - dark, milk and white - into small cups for an elegant finish. Melt each chocolate gently over a bain-marie or in short microwave bursts; whisk egg yolks with sugar until pale, fold in cooled chocolate, then gently incorporate softly whipped cream. Chill each layer to set before adding the next. Optional splash of coffee liqueur in the dark layer; garnish with shaved chocolate. Prep about 45 minutes with 1–2 hours chilling.
The first time I tackled Triple Chocolate Mousse Cups, my kitchen was filled with the scent of melting chocolate and a nervous energy that only comes when trying something new and spectacular. Watching the three mousses come together—each its own shade of decadent—felt almost like art class, but with delicious stakes. I remember the gentle clinking of spoons as I tested textures for the perfect pillowy swirl. No one warned me about my tendency to taste each layer before they were set, but somehow, I had more than enough to finish the cups.
I remember serving these at my roommate's birthday on a sticky summer night—we ended up standing in the kitchen, sharing layers straight from the fridge because we couldn't wait for the fancy table setting. Laughter bounced off the tiles as everyone tried to guess which chocolate they loved most. I almost dropped a cup racing to add the final garnish, but managed to save it just in time. The whole evening still reminds me of how desserts can turn a gathering into a real celebration.
Ingredients
- Dark chocolate (100 g, minimum 60% cocoa): This is the backbone of the mousse with deep, bittersweet notes—I've found that chopping it finely helps it melt smoothly.
- Milk chocolate (100 g): Brings sweetness and a creamy texture; always taste a square before melting to check quality.
- White chocolate (100 g): Lends a quiet sweetness and delicate color, but watch it when melting—it can seize faster than you expect.
- Egg yolks (3, one for each layer): They provide silkiness and structure, so separate the yolks gently to avoid bits of shell.
- Sugar (1 1/2 tbsp per layer): Just enough to sweeten without overpowering—I've tried less, but the balance wasn't quite right.
- Heavy cream (100 ml per layer, cold): The secret to mousse that holds its airy texture; keep it cold for best whipping results.
- Garnish—shaved chocolate or cocoa powder: For a final flourish that looks fancy with almost zero effort or planning.
Instructions
- Make the dark chocolate base:
- Melt the chopped dark chocolate gently over a bain-marie or short microwave bursts, stirring until glossy and smooth. Let it cool just enough that it doesn't cook the egg yolk when mixed together.
- Combine yolk and sugar:
- Whisk the egg yolk and sugar in a bowl until pale and ribbony—this takes a bit of elbow grease but sets you up for the fluffiest mousse.
- Blend and lighten:
- Gently fold the melted chocolate into the egg mixture, being careful not to deflate the air.
- Whip the cream:
- Beat the cold cream until just-soft peaks form; you'll hear a satisfying whoosh as the whisk cuts through.
- Assemble the first layer:
- Fold the whipped cream into the chocolate mixture and spoon evenly into the bottom of six glasses—don't worry about perfection, just smooth tops. Chill these while you dream about the next layer.
- Make the milk chocolate layer:
- Repeat all the steps using milk chocolate—be ready for a sweeter aroma and a slightly lighter color. Gently layer this over the set dark chocolate mousse and chill again.
- Finish with white chocolate mousse:
- Follow the same process for the white chocolate, but melt it on low and fold gently—it loves to seize if rushed. Pipe or spoon the last layer over the milk chocolate mousse, then let it all chill for at least an hour.
- Garnish and serve:
- Shave a little chocolate on top or sift over cocoa powder right before serving for a professional look—everyone will ask how you did it.
 Save to Pinterest
 There was a quiet moment when I ate the first finished cup, spoon clinking against glass, and realized how much joy can fit in a single dessert. Sometimes a tiny layered mousse is all it takes to make an ordinary day feel special.
Layering Without Stress
Don't get hung up on absolute perfection with the layers; a little swirl or slope adds homemade charm. I used to use the back of a teaspoon to gently coax the mousse to the edges, which feels oddly meditative. Chilling each layer firm before adding the next is the only real trick you need. If you get a bit messy on the glass, a damp paper towel easily cleans up the look before the mousse sets.
Chocolate Choices Matter
Using chocolate you wouldn't hesitate to eat by itself truly transforms the flavor of these mousses. One day I splurged on a little extra-good bar and the result tasted like something from a Parisian pastry shop. Mixing different brands for contrast can also add depth you didn't expect. Just watch for added ingredients in white chocolate, as some melt better than others.
Keeping It Simple for Gatherings
These mousse cups have rescued me on busy evenings because they can be made entirely ahead and need no last-minute fuss. Sometimes I garnish with a sprinkle of sea salt or a single fresh raspberry for a surprise twist. Serving in mismatched cups always gets a laugh at the table, so don't stress matching glassware.
- Lining up cups on a tray before filling helps avoid drips across the counter.
- If you want firmer layers quickly, pop the cups in the freezer between layers for about 25 minutes.
- Leftovers (if there ever are any) are still luscious the next day right from the fridge.
 Save to Pinterest
 May your mousse cups turn every meal into an occasion or just offer you a moment of edible luxury on a regular Tuesday. Enjoy sharing every layer—no occasion needed.
Recipe FAQs
- → How do I speed up setting between layers?
-
Chill the cups in the freezer for 20–30 minutes between layers to accelerate setting. Keep an eye to avoid freezing; 25–30 minutes is usually enough for a firm layer.
- → Is there a safer alternative to raw egg yolks?
-
For a safer option, temper pasteurized egg yolks or use a cooked sabayon technique by gently heating yolk and sugar over a bain-marie until thickened. Alternatively, use a stabilized whipped cream base with gelatin if avoiding raw eggs entirely.
- → What type of chocolate works best?
-
Use good-quality couverture or chocolate with a high cocoa butter content for smooth melting and a clean finish. Choose at least 60% cocoa for the dark portion and a creamy milk chocolate for balance.
- → How can I get light, airy mousse textures?
-
Whip the cream to soft peaks and fold gently into the chocolate mixture to retain air. Avoid over-mixing; use large, gentle strokes to maintain volume and a silky mouthfeel.
- → Can these cups be prepared ahead of time?
-
Yes—assemble fully and refrigerate for up to 48 hours. For longer storage, freeze assembled cups (well covered) and thaw in the refrigerator before serving, though texture may slightly change.
- → Any tips for neat layers and presentation?
-
Let each layer chill until just set before adding the next to prevent blending. Pipe the top layer for a cleaner finish and add shaved chocolate or a light cocoa dusting just before serving.
