 Save to Pinterest
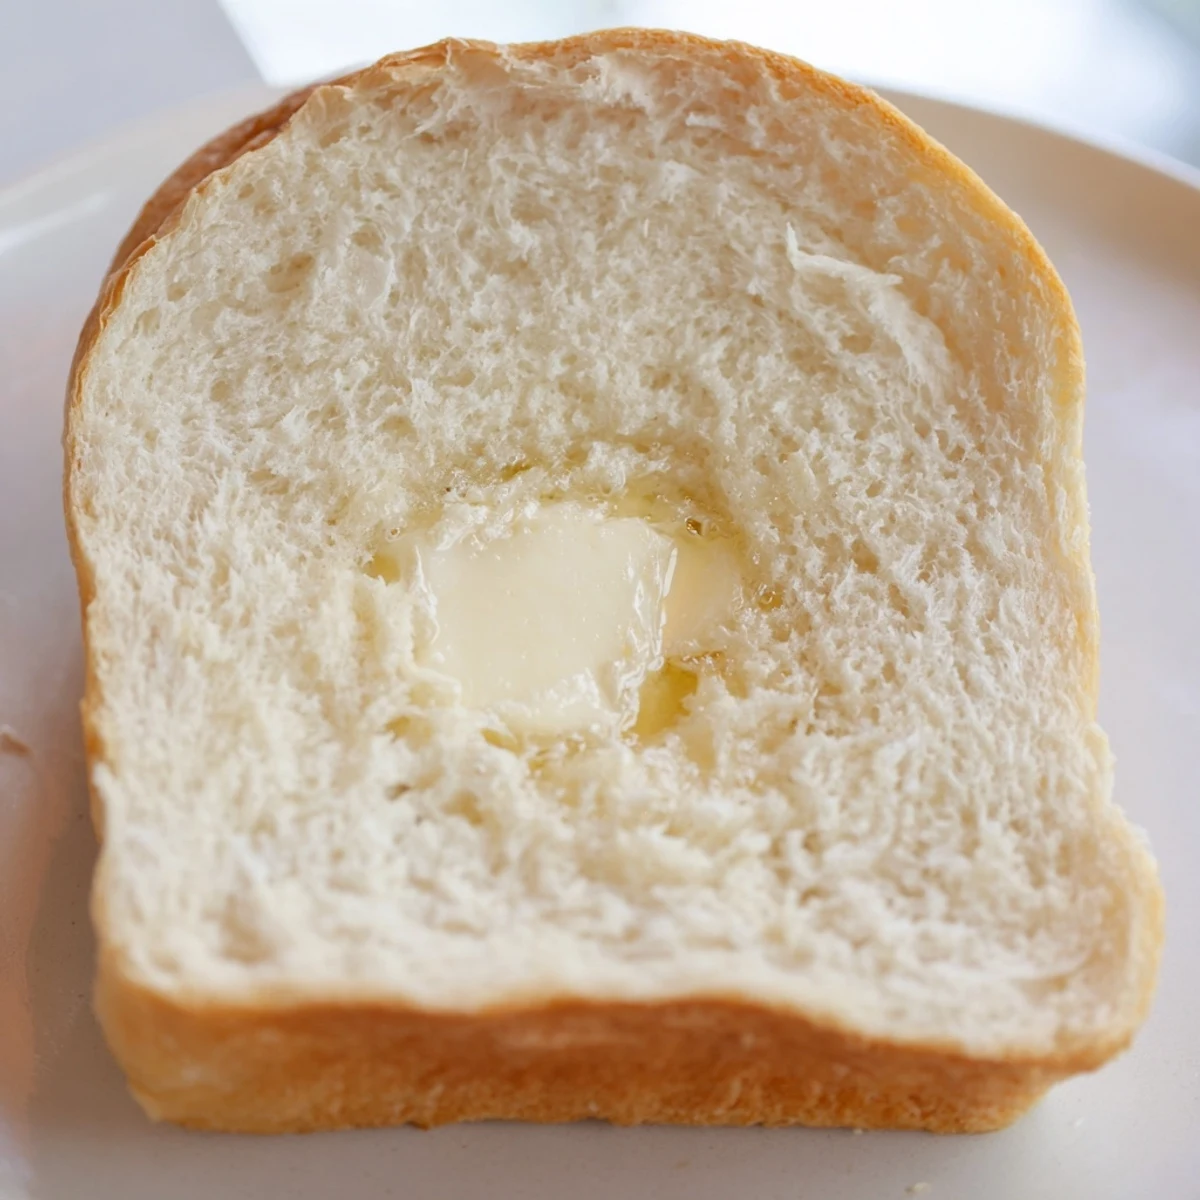
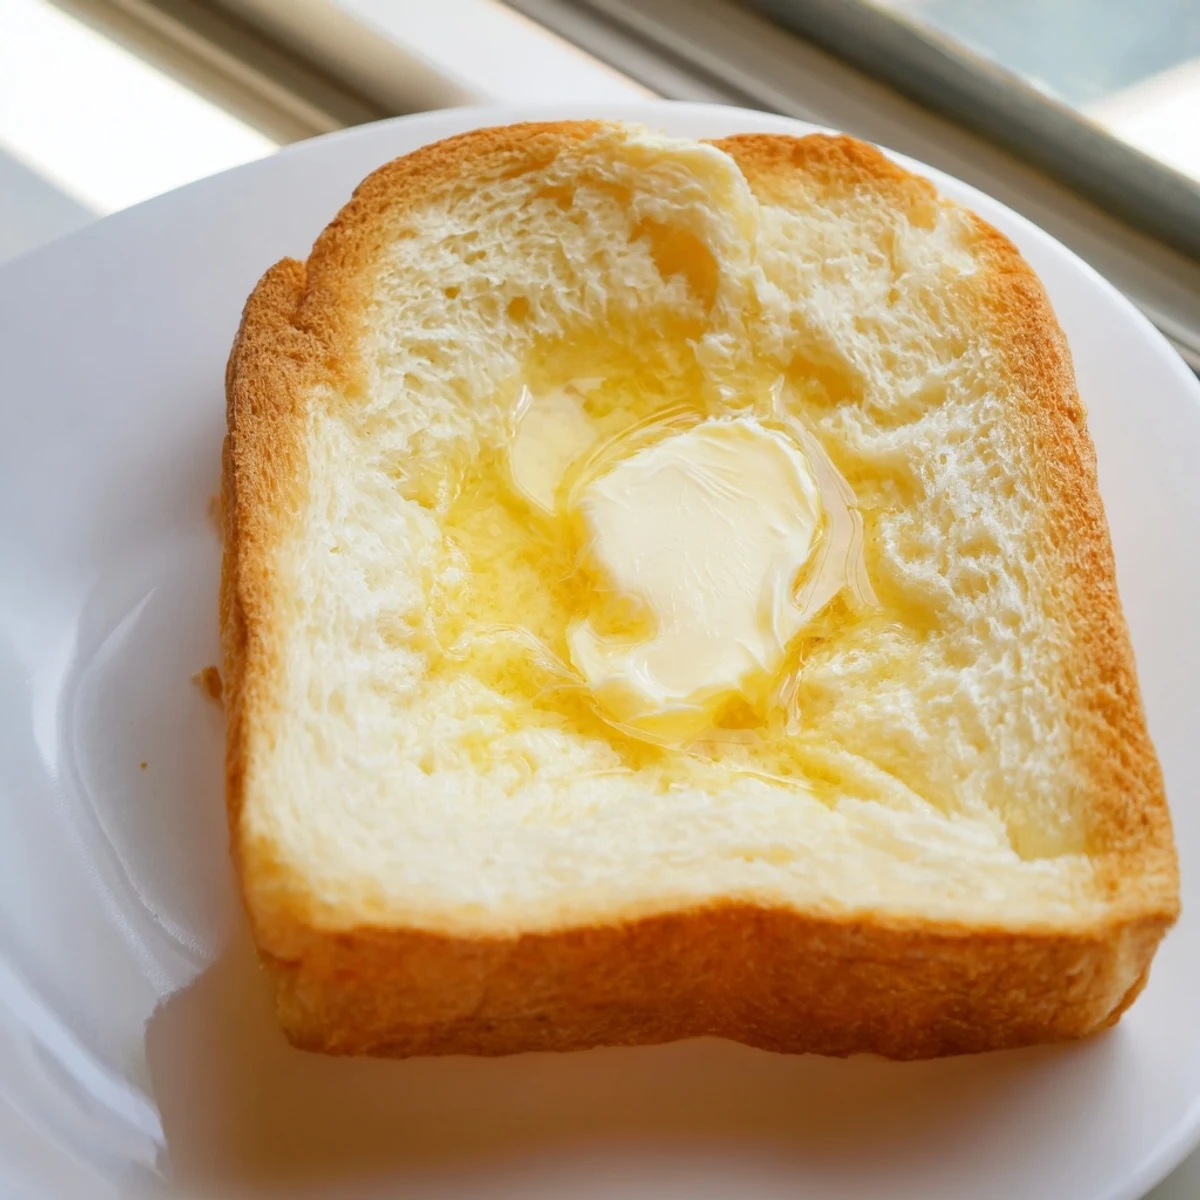
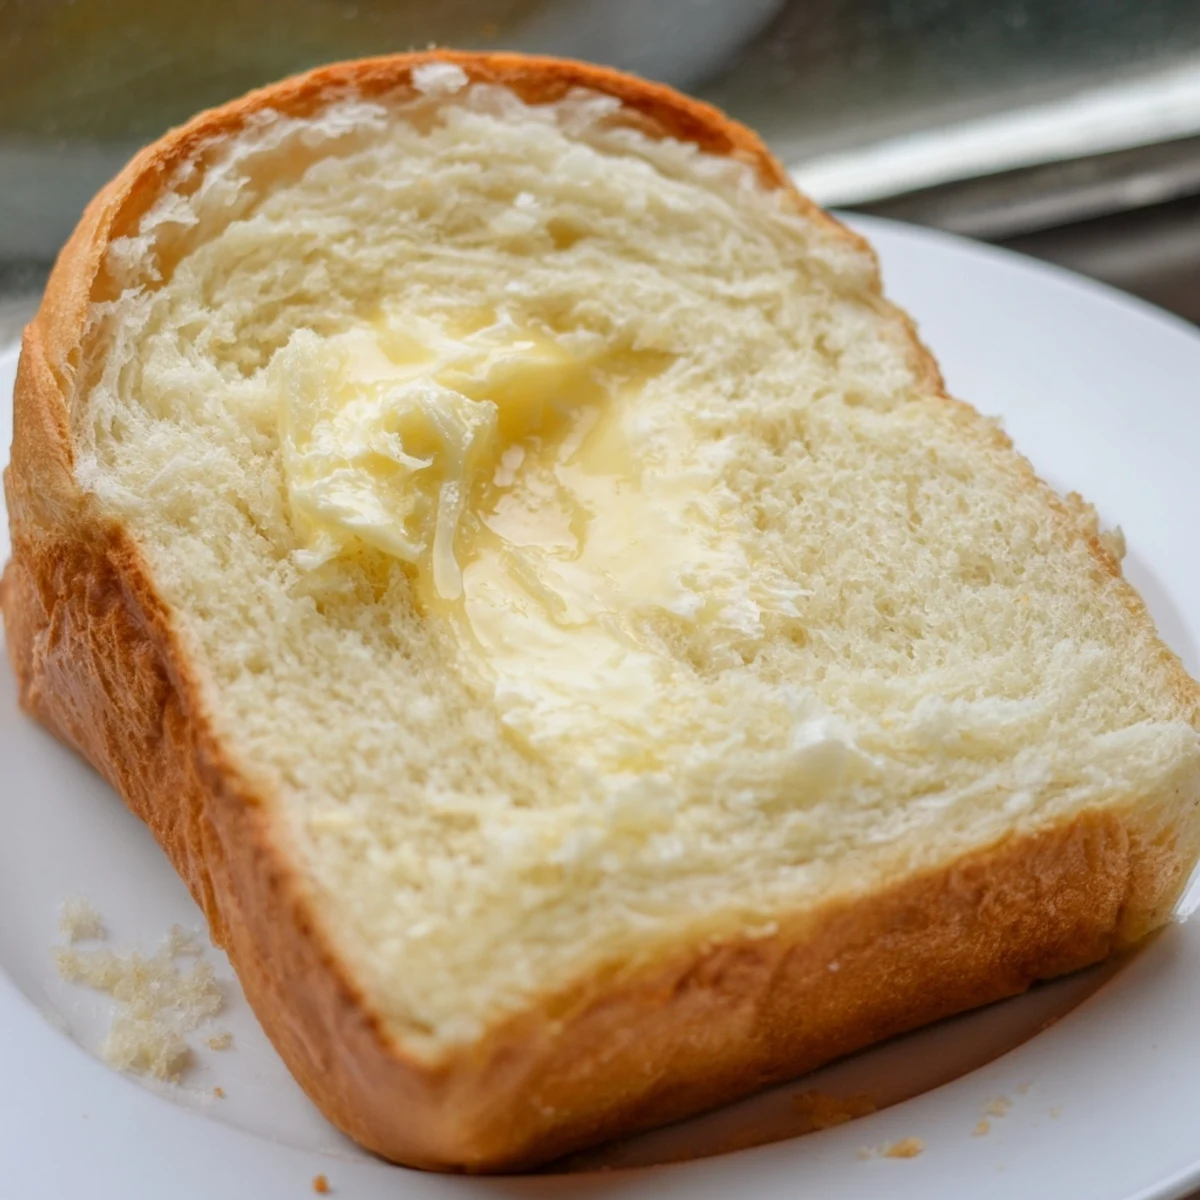
 Create two beautiful golden loaves of soft, pillowy white bread that melts in your mouth. This traditional Amish method yields bread with a tender crumb and subtle sweetness, perfect for morning toast, lunchtime sandwiches, or alongside dinner. The dough rises beautifully in the pan and bakes to a gorgeous golden brown with a wonderfully soft interior that stays fresh for days.
My grandmother taught me that the best bread needs patience more than precision. We would stand in her tiny kitchen watching dough rise like magic, talking about everything and nothing while yeast worked its invisible wonders. That first pull of steam rising from a fresh loaf still feels like coming home.
Last winter my neighbor was going through a rough patch so I brought over a warm loaf. We sat at her table tearing off pieces while they were still too hot to touch properly talking about how simple food can carry so much love. She asked for the recipe and now makes it every Sunday for her family.
Ingredients
- Warm water: The temperature matters more than you think too hot kills the yeast too cold and it will not wake up properly
- Granulated sugar: Feeds the yeast and adds that subtle sweetness that makes this bread so irresistible
- Active dry yeast: Your magic dust that transforms simple ingredients into something alive and growing
- Salt: Do not skip this it balances the sweetness and gives the bread depth
- Vegetable oil: Keeps the crumb tender and the crust soft though melted butter works beautifully too
- All purpose flour: Start with 5 1/2 cups and trust your hands to tell you if more is needed
Instructions
- Wake up the yeast:
- Dissolve sugar in warm water then sprinkle yeast on top. Watch for tiny bubbles to appear across the surface like a foamy sea which tells you it is alive and ready to work.
- Bring it together:
- Stir in salt and oil then gradually add flour one cup at a time. The dough will start shaggy and messy then slowly come together into something soft and cooperative.
- Develop the gluten:
- Knead for at least 6 minutes pushing folding and turning until the dough feels smooth and elastic like a sleepy cat stretching after a long nap.
- First rise:
- Place dough in a greased bowl cover and find a warm spot. Check after an hour the dough should have doubled and feel puffy when you gently press it.
- Shape the loaves:
- Punch down gently divide in half and shape each piece into a neat loaf. Place in greased pans tucking edges underneath for a smooth top.
- Second rise:
- Cover again and wait 30 to 45 minutes until the dough creeps about an inch above the rim. This is when your kitchen starts smelling like a bakery.
- Bake to golden:
- Bake at 350 degrees for 25 to 30 minutes until the tops are golden and tapping the bottom produces that hollow sound that means bread is done.
- Finish with love:
- Brush with melted butter while still warm for a softer crust. Let cool slightly in pans then turn out onto a wire rack before slicing.
 Save to Pinterest
 My daughter now asks to help knead the dough her small hands covered in flour concentrating so seriously on each fold. Those moments covered in flour together are better than the bread itself almost.
Making It Your Own
Replace half the water with warm milk for a richer taste that reminds me of Sunday morning breakfasts growing up. A tablespoon of honey added with the sugar gives the most lovely floral note especially wonderful if you are using local honey.
Storage Secrets
This bread stays fresh for an amazing four days if you store it in an airtight bag once completely cooled. I slice both loaves before freezing one so I can pull out exactly what I need for toast in the morning.
Ways To Use Leftover Bread
Stale slices transform into the most incredible French toast or bread pudding. Day old bread makes perfect croutons just cube and toast with olive oil and herbs.
- Cube and freeze for quick breadcrumbs later
- Layer slices in a bread pudding with custard and raisins
- Grill thick slices with cheese for the ultimate grilled cheese
 Save to Pinterest
 There is something profoundly satisfying about turning flour water and yeast into bread that feeds people you love. Hope your kitchen fills with warmth and the best kind of memories.
Recipe FAQs
- → What makes Amish white bread different from regular white bread?
-
Amish white bread typically has a slightly sweeter taste and softer texture than standard white bread. The addition of sugar helps create a tender crumb, while the longer rising times develop better flavor and structure. The result is a loftier, more pillowy loaf that stays fresh longer.
- → How do I know when the dough has risen enough?
-
The dough is ready when it has doubled in size during the first rise. For the second rise in the pans, wait until the dough crowns about 1 inch above the rim of the pan. Gently press the dough with your fingertip—if the indentation slowly springs back, it's ready to bake.
- → Can I make this bread without a stand mixer?
-
Absolutely. This dough can be mixed entirely by hand using a wooden spoon or sturdy spatula. Simply combine ingredients in a large bowl and mix until flour is incorporated. The kneading step can also be done by hand on a floured surface for 6–8 minutes until smooth and elastic.
- → Why is my bread too dense or heavy?
-
Dense bread usually results from not kneading enough or not letting the dough rise properly. Ensure you knead for the full 6–8 minutes to develop gluten structure. Also, make sure your yeast is fresh and active—it should foam within 5–10 minutes of activation. Avoid adding too much flour, which can create a tight crumb.
- → How should I store this bread to keep it fresh?
-
Once completely cooled, store the bread in an airtight plastic bag or container at room temperature for up to 4 days. For longer storage, slice the loaf and freeze in freezer bags. Frozen slices can be toasted directly from frozen. Avoid refrigerating, as this causes the bread to stale faster.
