 Save to Pinterest
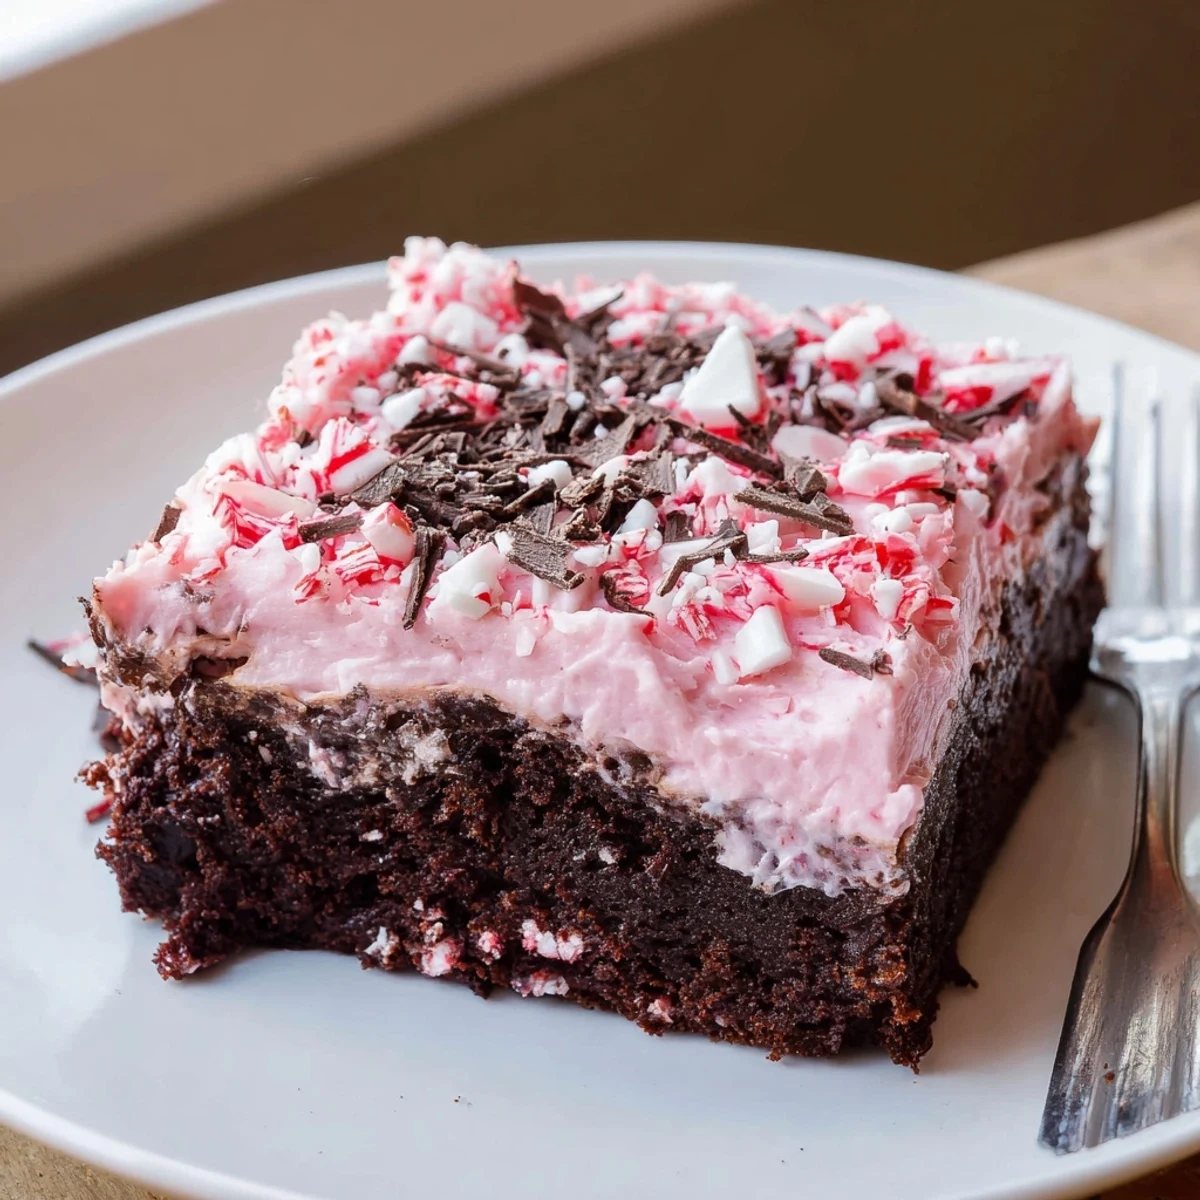
 This festive chocolate poke cake begins with a simple chocolate batter baked until springy, then cooled briefly. Use a wooden spoon handle to poke uniform holes about 1 inch apart. Whisk instant vanilla pudding with cold milk and peppermint extract, pour it over the cake and push the filling into the holes. Chill until set, spread thawed whipped topping, and finish with crushed peppermint and optional chocolate shavings. Serve chilled; store refrigerated up to 2 days.
The sharp crackle of peppermint under my rolling pin always feels like a personal celebration of the season, whether it's winter or an unexpected minty craving in the middle of spring. There's something undeniably cheerful about combining cool peppermint with plush chocolate, and this Peppermint Poke Cake manages to capture that spirit like nothing else. The first bite is a burst of silky pudding, gentle cake, and a confetti crunch that tends to disappear before the second round of coffee is even poured. I never need a holiday as an excuse to make it—just a little bit of anticipation and a sweet tooth.
When I made this cake last December for the neighborhood cookie swap, I expected to bring home at least half of it. Instead, I ended up scribbling the recipe onto napkins for everyone who asked—and there were only crumbs left in the pan.
Ingredients
- Chocolate Cake Mix: Start with a boxed mix for ease—after many attempts, I've found this shortcut means fewer dishes and reliably fluffy cake.
- Eggs: Bring them to room temperature first for a tender crumb that’s never dense.
- Water: Use cold tap water for a moist batter, but don't over-mix or it loses its lift.
- Vegetable Oil: Gives the cake its extra softness—don't swap for butter, as the light flavor keeps the mint front and center.
- Instant Vanilla Pudding Mix: This is the magic that seeps into the cake's holes, adding creamy sweetness.
- Cold Milk: Cold is key; warm milk can prevent the pudding from setting up just right.
- Peppermint Extract: Go slow and taste as you go; a heavy pour can overpower the cake’s chocolate notes.
- Food Coloring: Just a drop or two for a blush of festive color—too much red can turn the filling garish in photos, as I once learned.
- Frozen Whipped Topping: Thawed gently overnight in the fridge makes it spreadable without losing its fluff.
- Crushed Peppermint Candies: The final crunch—crush with a rolling pin, then sift out the extra powder for tidier sprinkles.
- Chocolate Shavings/Mini Chocolate Chips (optional): For a double hit of chocolate and extra decoration, especially pretty on a holiday buffet.
Instructions
- Preheat and Prep:
- Set your oven to 350°F and grease a 9x13-inch pan—make sure you find all the corners, or the cake might stick just when you want to show it off.
- Mix the Batter:
- Whisk the chocolate cake mix, eggs, water, and oil until smooth; the batter should look glossy and thick but still easy to pour.
- Bake:
- Pour batter into the pan and bake for about half an hour; the kitchen will start to smell like a chocolate shop at around 25 minutes—start checking it then for doneness.
- Cool and Poke:
- Let the cake cool slightly, then use the handle of a wooden spoon to make deep holes all over—don’t be shy, the more holes, the more pudding-soaked bites.
- Make the Peppermint Pudding:
- Whisk pudding mix, cold milk, peppermint extract, and a little food coloring until it just starts to thicken—you want it pourable but not runny.
- Fill the Cake:
- Pour the pudding over, gently nudging it into every pocket; any overflow on top becomes part of the creamy surprise.
- Chill:
- Cover and refrigerate for at least an hour so the flavors meld and the pudding sets up in every nook.
- Top and Decorate:
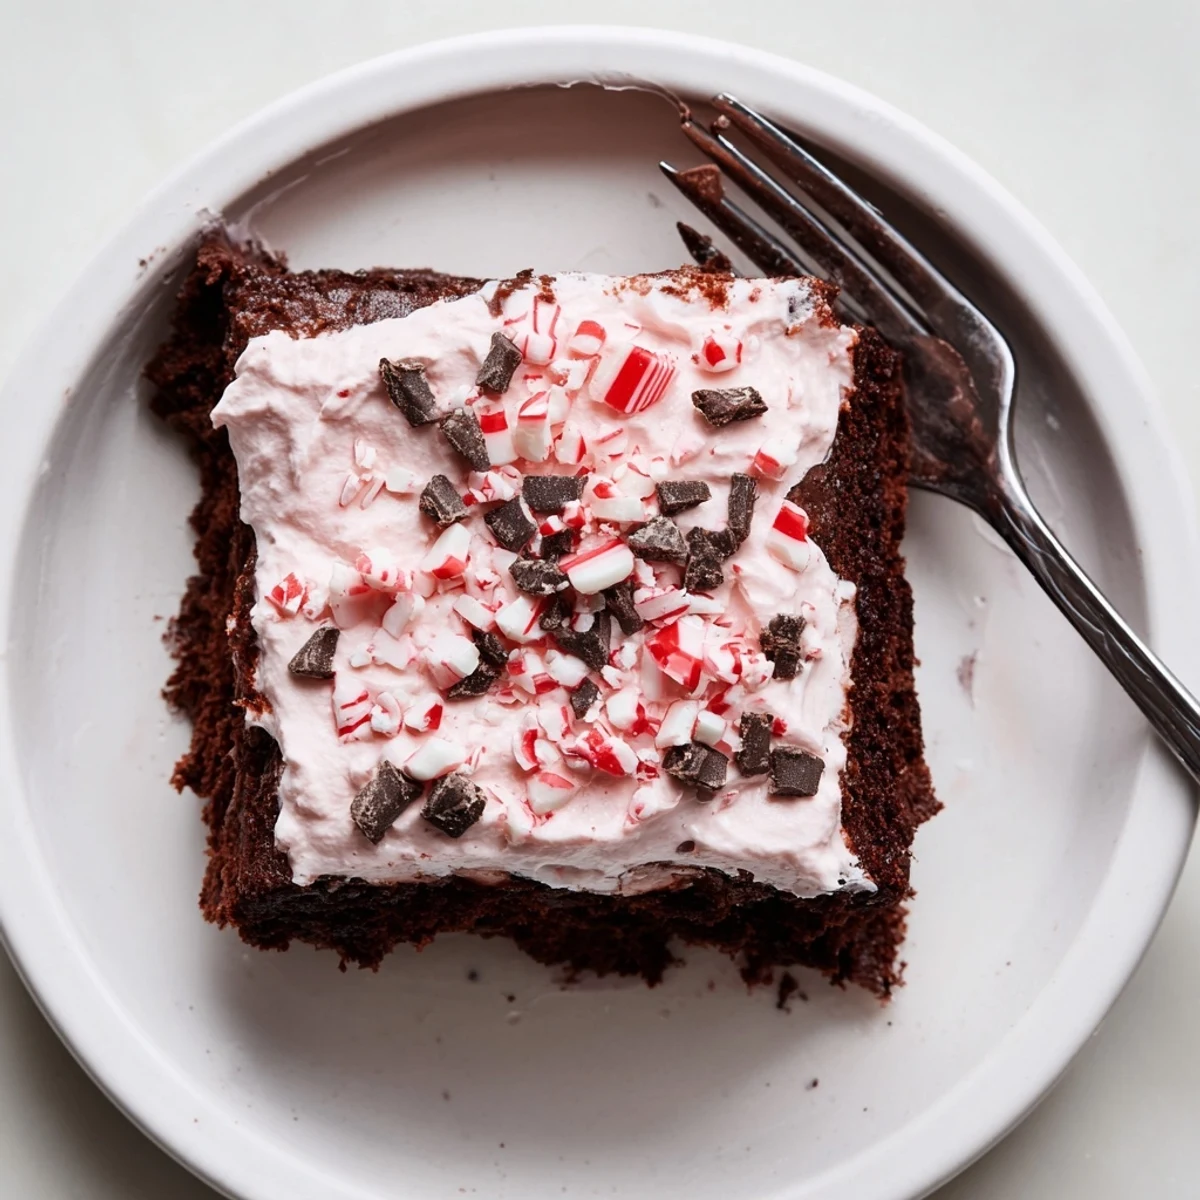
- Spread the whipped topping over the chilled cake, sprinkle with peppermint candies and chocolate—let your inner kid go wild here.
- Serve:
- Slice while cold for clean pieces and little bursts of candy crunch in every bite.
 Save to Pinterest
 I’ll never forget my niece sneaking extra peppermint candies onto her slice, giggling as if she’d pulled off some magical feat. Somewhere between the laughter and the chocolate smudges, the Peppermint Poke Cake started to feel like a new tradition in our family.
Swapping Things Up
If you’re feeling adventurous one afternoon, try switching the chocolate cake for red velvet—the color with the peppermint is pure party on a plate. White cake makes the mint flavor even more pronounced and gives the filling a candy-cane look that’ll have every guest asking how you did it.
Timing and Chilling Secrets
It’s tempting to skip the chilling step (especially if you’re hungry), but the cake truly needs at least an hour in the fridge for all those layers to set up. If you’ve got time, overnight is even better—the flavors meld, the pudding firms, and slicing gets easier with less mess.
Getting the Perfect Crunch
Through trial, error, and a few sticky cutting boards, I’ve learned the best way to crush the peppermint candies is to seal them in a zip bag and use a rolling pin with a light touch. This keeps the pieces just the right size without turning the whole batch to dust—reserve the extra fine bits for stirring into hot cocoa alongside your cake.
- Don’t add the candy until just before serving to keep the topping fresh and bright.
- For best results, slice with a sharp knife wiped clean between cuts.
- If you want extra chocolate, drizzle melted chips over the top before chilling.
 Save to Pinterest
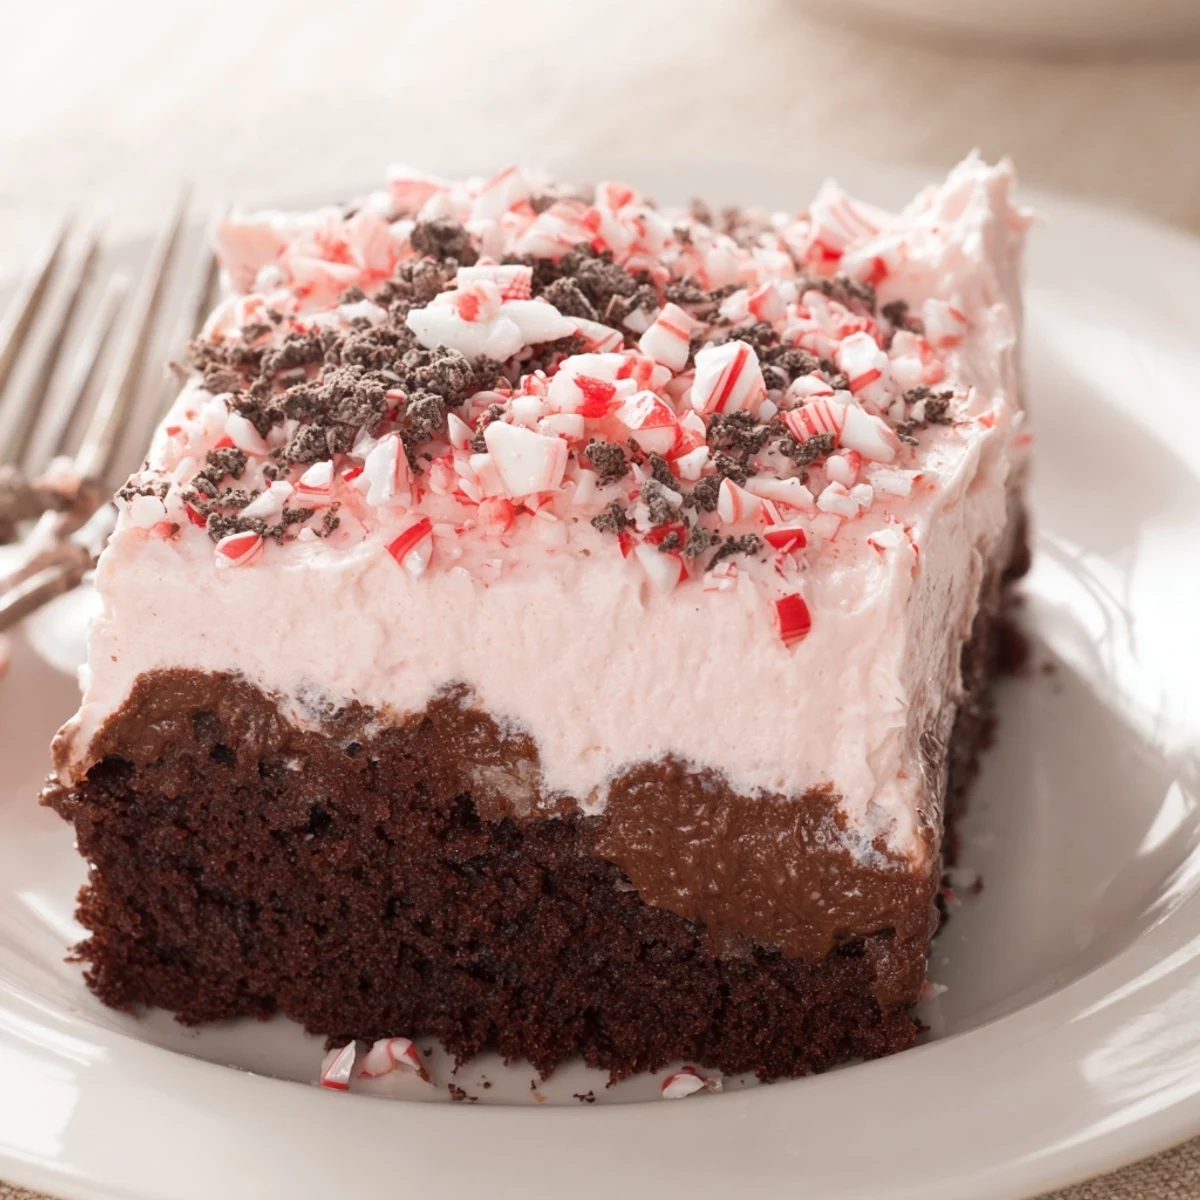
 Whether you’re sharing it at a party or sneaking a slice by the fridge light, this cake brings a little bit of cheer to any day. Enjoy making it your own—one poke at a time!
Recipe FAQs
- → Can I use homemade chocolate batter instead of a mix?
-
Yes. A homemade chocolate batter works well; bake until a toothpick comes out clean and follow the same poking and filling steps to ensure the pudding soaks in evenly.
- → How do I get the pudding to sink into the holes without pooling on top?
-
Pour the pudding slowly and use a spatula to gently press it into the holes so it fills them. Slightly warm pudding (not hot) pours more easily but chill promptly to set.
- → How much peppermint extract should I use for balanced flavor?
-
Start with 1 teaspoon in the pudding filling and taste if possible; peppermint is strong, so avoid overdoing it. Add 1/4 teaspoon to the batter only if you want a subtle extra layer of mint.
- → Can this be made ahead and how should it be stored?
-
Yes. After assembling, chill for at least an hour to set. Cover and refrigerate up to 48 hours for best texture. For longer storage, freeze uncut (well wrapped) up to 1 month; thaw in the fridge before decorating.
- → What are good swap options for the whipped topping?
-
Use stabilized whipped cream or mascarpone-sweetened cream for a richer finish, or a dairy-free whipped topping if avoiding dairy. Whip fresh cream with a bit of sugar until soft peaks for best texture.
- → Can I make individual portions instead of a 9x13 pan?
-
Yes. Bake in muffin tins or small pans and poke smaller holes, then spoon the pudding into each. Reduce baking time for individual sizes and chill until set before topping.
