
 Save to Pinterest
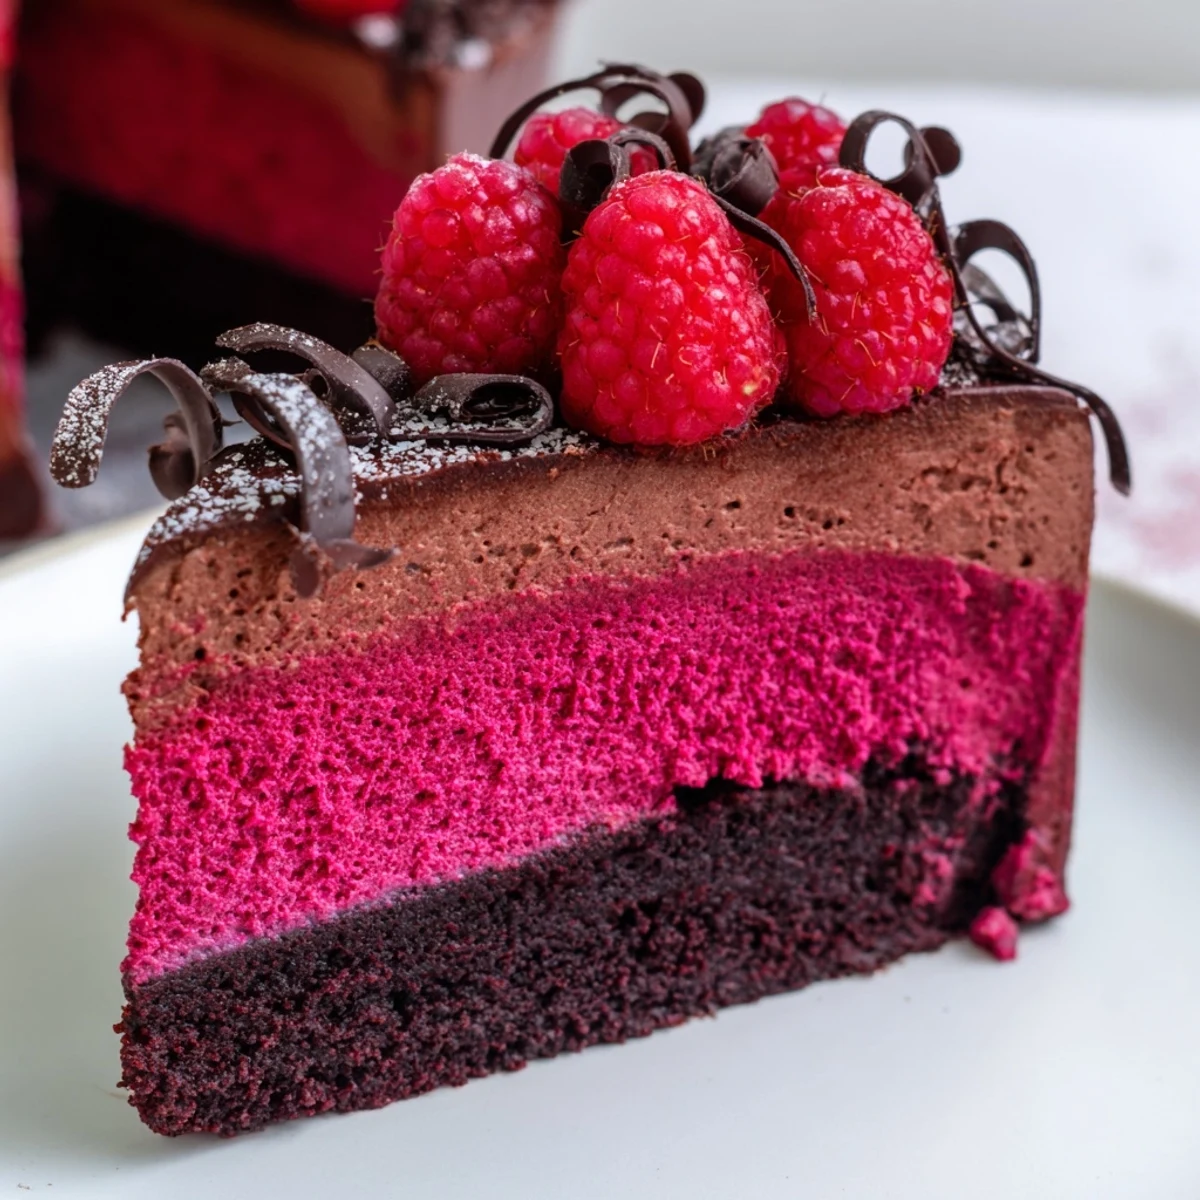
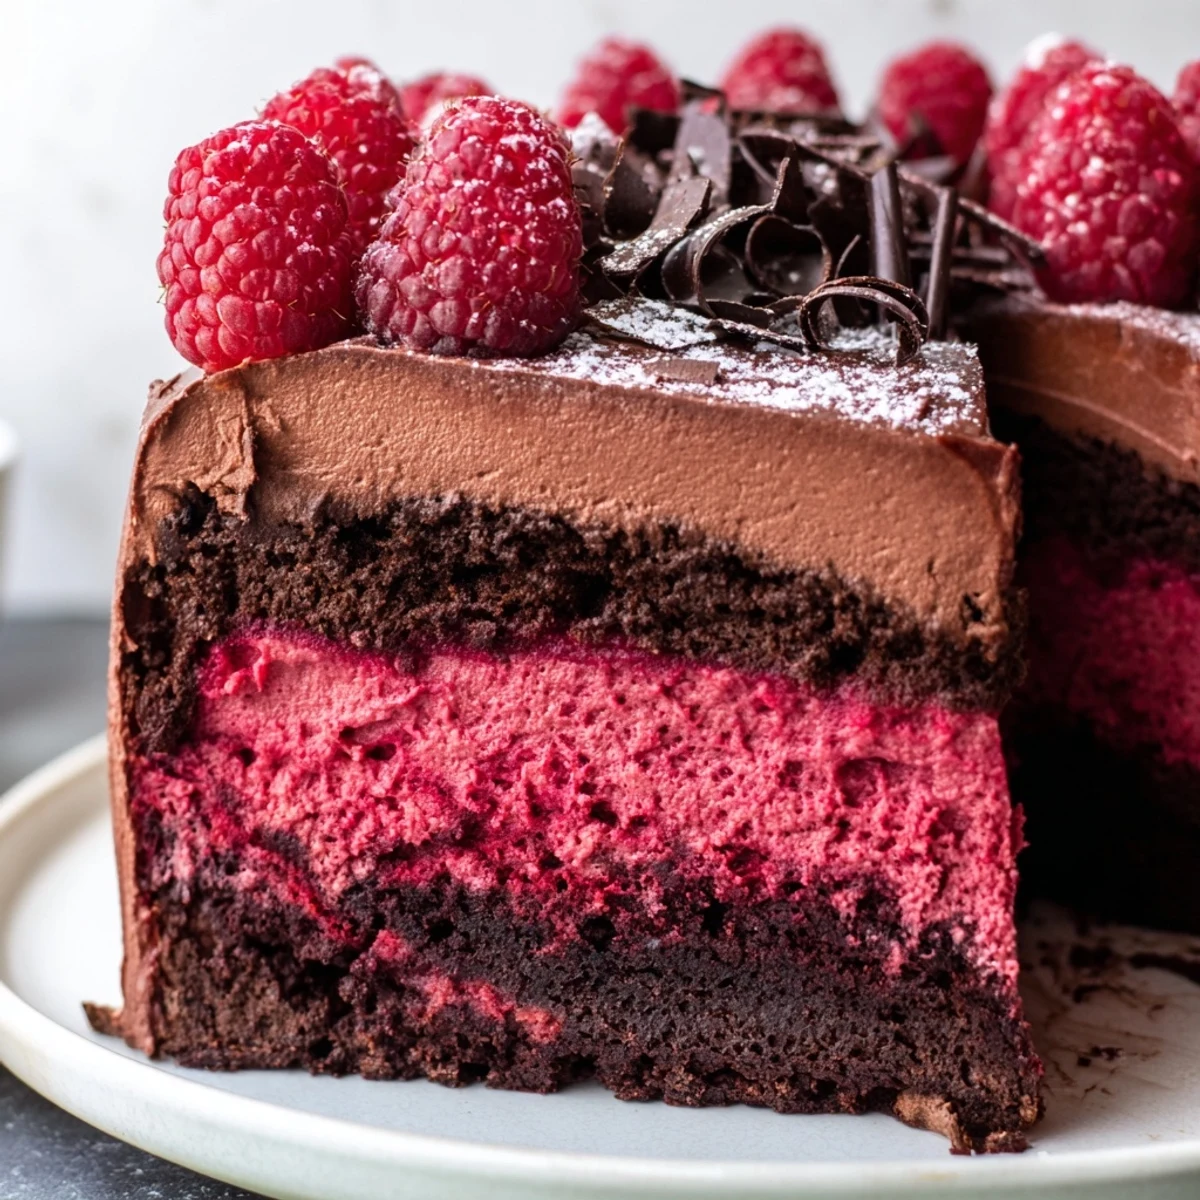
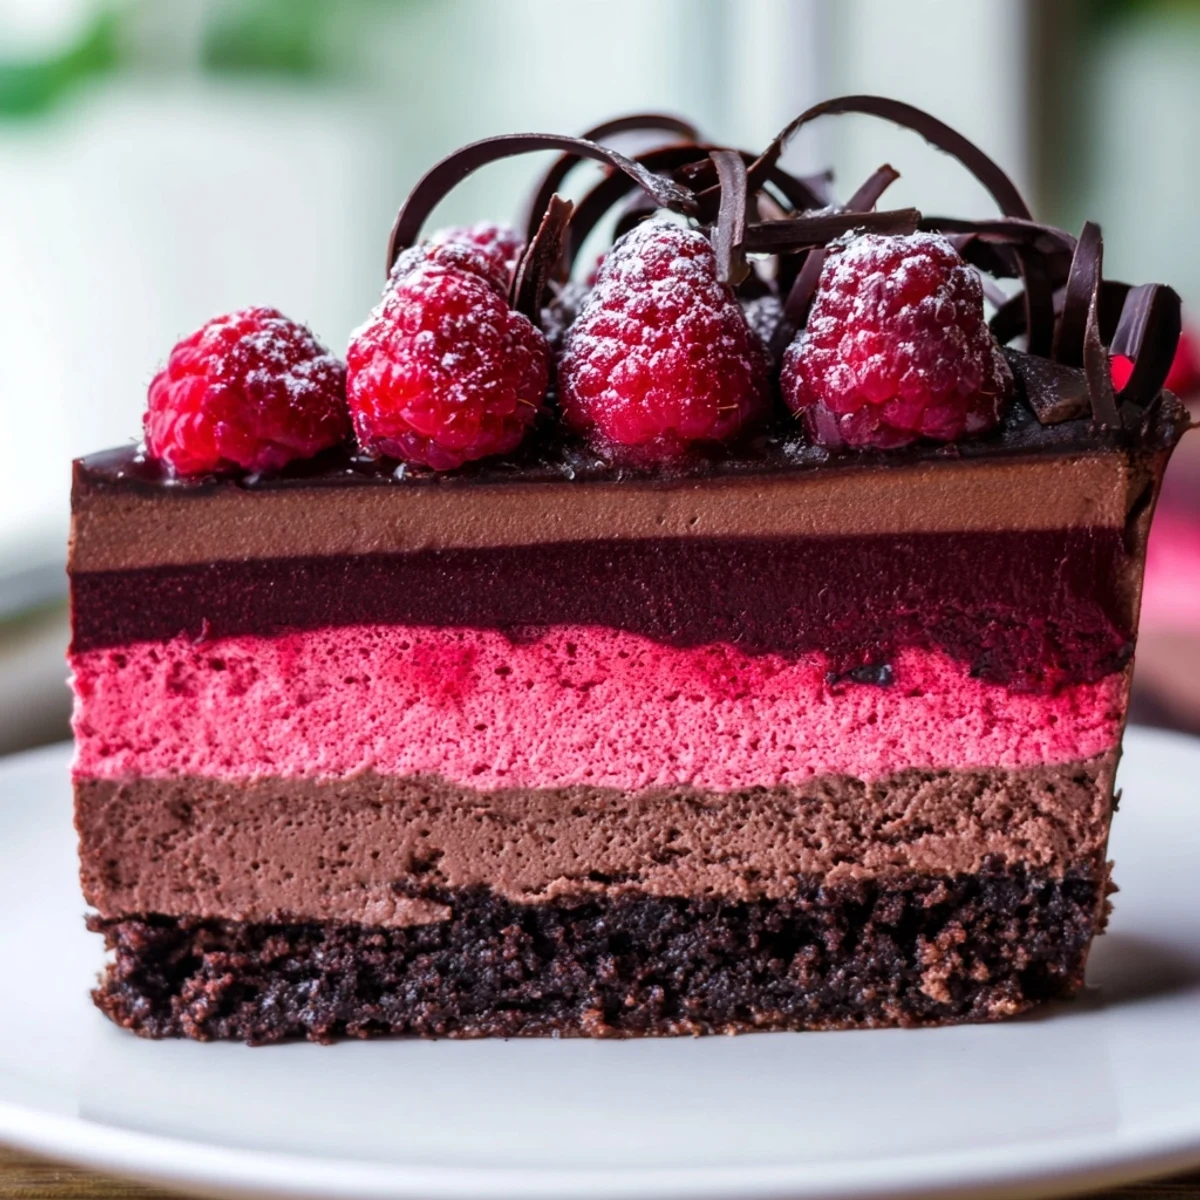
 This stunning multi-layered dessert brings together three irresistible textures: a moist chocolate sponge base, a jewel-toned raspberry gelée, and a cloud-like dark chocolate mousse on top.
Each layer is built directly in the pan, making assembly surprisingly straightforward despite the impressive result. The raspberry puree cuts through the richness of the chocolate beautifully, creating a balanced dessert that feels both indulgent and refined.
Plan ahead for the chilling time — the mousse needs at least four hours to set properly. Ideal for birthdays, dinner parties, or any occasion that calls for a showstopper.
The rain was hammering against the kitchen window the afternoon this cake came together for the first time, and honestly, that gloomy weather was the perfect excuse to melt an absurd amount of chocolate. My sister had just announced her engagement, and I volunteered dessert for the celebration dinner before fully understanding what I was signing up for. Three layers later, I stood in flour dusted disbelief at what had materialized on my counter.
When I carried this to the table, my brother in law stopped mid conversation and just pointed at it, which is honestly the highest compliment in our family. The slice revealed three distinct layers, each one holding its own, and the room went quiet for a full thirty seconds after the first bites. My mother asked if I had bought it, and I pretended to be offended but secretly glowed for the rest of the evening.
Ingredients
- All purpose flour (75 g): Just enough to give the base structure without making it dense, a light hand here pays off.
- Unsweetened cocoa powder (25 g): This is where the chocolate depth begins, use a quality brand and your base will taste like brownie heaven.
- Granulated sugar (100 g for base, plus 50 g for raspberry, plus 50 g for mousse): Divided across layers, each portion serves a different purpose so measure carefully.
- Large eggs (5 total, 2 for base, 3 separated for mousse): Room temperature eggs fold into batter and whip into peaks far better than cold ones.
- Unsalted butter, melted (60 g): Adds richness to the base, and melting it rather than creaming creates that fudgy texture.
- Vanilla extract (2 tsp total): Never skip this, it rounds out the chocolate and brightens the raspberry layer beautifully.
- Baking powder (1/2 tsp): A small amount keeps the base tender rather than cakey.
- Salt (2 pinches): One for the base, one for the egg whites, salt makes chocolate taste more like itself.
- Fresh or frozen raspberries (300 g for layer, plus 100 g for decoration): Frozen work wonderfully for the puree layer, save the fresh beauties for the top.
- Water (2 tbsp): Helps the raspberries break down into a silky puree without sticking to the pan.
- Gelatin sheets (2 sheets or 1.5 tsp powdered): This is what transforms the raspberry puree from sauce to layer, do not skip or substitute without research.
- Dark chocolate 60 to 70 percent (200 g for mousse, plus extra for curls): Spend a little more here, the mousse is mostly chocolate so quality shines through instantly.
- Heavy cream, cold (250 ml): Whips into the cloud like foundation of the mousse, keep it very cold for best volume.
- Icing sugar (optional, for dusting): A final snowy drift that makes everything look finished and elegant.
Instructions
- Prepare your pan and oven:
- Preheat to 175 degrees Celsius and line a 20 cm springform pan with parchment paper, pressing it flat so your base bakes evenly.
- Build the chocolate base:
- Whisk together the flour, cocoa powder, baking powder, sugar, and salt in one bowl, then combine the eggs, melted butter, and vanilla in another before gently folding the wet into the dry just until incorporated. Spread the batter evenly across the bottom of your prepared pan and resist the urge to overmix.
- Bake and cool the base:
- Bake for 20 to 25 minutes until a toothpick inserted in the center comes out clean, then let it cool completely right in the pan while you prepare the next layer.
- Create the raspberry layer:
- Soften the gelatin in cold water while you simmer the raspberries, sugar, and water in a saucepan until the berries collapse into a bubbling purple pool. Blend the mixture, strain out the seeds, then gently warm the smooth puree and dissolve the softened gelatin into it. Let it cool to room temperature before pouring it over your cooled cake base and chilling for about one hour until set.
- Melt the chocolate:
- Use a water bath or microwave in short bursts, stirring between each, until the chocolate is glossy and completely smooth, then let it cool slightly so it does not cook the egg yolks.
- Whip the yolks:
- Beat the three egg yolks with 25 g sugar and vanilla until the mixture turns pale golden and falls in thick ribbons from the whisk, then stir in the melted chocolate until uniformly blended.
- Whip the whites:
- In a spotlessly clean bowl, whip the egg whites with a pinch of salt to soft peaks, then gradually rain in the remaining 25 g sugar and keep beating until you reach stiff glossy peaks that hold their shape proudly.
- Whip the cream:
- In yet another bowl, whip the cold heavy cream to soft peaks, stopping before it turns grainy, because you want it billowy and smooth.
- Fold everything together:
- Gently fold the whipped cream into the chocolate yolk mixture first, then fold in the egg whites with the lightest strokes you can manage, preserving every pocket of air you just worked so hard to create.
- Assemble and chill:
- Pour the mousse over the set raspberry layer, smooth the top with an offset spatula, cover gently, and refrigerate for at least four hours or until the mousse is completely firm and set.
- Finish and serve:
- Release the springform pan with a deep breath and steady hands, then arrange fresh raspberries, chocolate curls, and a gentle dusting of icing sugar across the top like you are painting the final strokes of something special.
 Save to Pinterest
 The night I served this at the engagement dinner, my sister pulled me into the hallway and whispered that she wanted it at the wedding too. That cake, with its wobble and shine and impossibly dark mousse, had somehow become part of the story of their celebration. I realized then that the best desserts are not just recipes, they are the moments they witness.
Timing and Planning
Six hours of total time sounds intimidating, but most of that is the refrigerator doing the work while you go about your day. I usually bake the base in the morning and handle the raspberry layer over lunch, then finish the mousse in the afternoon so it has plenty of time to set before evening. Breaking it into stages makes the whole process feel less like a project and more like a rhythm.
Chocolate Choices Matter
I learned the hard way that cheap chocolate produces a grainy, flat mousse no amount of sugar can rescue. Now I splurge on a bar I would happily eat on its own, usually something between 65 and 70 percent cacao, and the difference is staggering. The mousse becomes silky, complex, and deeply satisfying in a way that grocery store baking chips simply cannot replicate.
Serving and Storing
This cake holds beautifully in the fridge for up to three days, though the mousse is at its most ethereal within the first 24 hours. Use a sharp knife dipped in hot water and wiped clean between cuts for photogenic slices that show off every layer.
- Loosen the springform pan gently by running a warm knife around the edge first to avoid cracking the mousse.
- Cover the cake with a large bowl or cake dome rather than wrapping it tightly in plastic, which can smear the top.
- Let slices sit at room temperature for about ten minutes before eating so the mousse softens into its truest, silkiest self.
 Save to Pinterest
 This is the kind of cake that turns an ordinary Saturday into an occasion, and every time I make it, I discover some small detail to love even more. Trust the process, respect the chill times, and let each layer tell its own little story.
Recipe FAQs
- → Can I use frozen raspberries instead of fresh ones?
-
Absolutely. Frozen raspberries work perfectly well for the gelée layer. Simply thaw them first and proceed with the same cooking steps. For the decoration on top, fresh raspberries will give a better visual finish.
- → How far in advance can I make this dessert?
-
You can prepare the entire cake up to 48 hours in advance and keep it refrigerated. In fact, making it a day ahead gives the layers time to set firmly and the flavors to meld together beautifully.
- → What percentage of cacao should the dark chocolate have?
-
A dark chocolate between 60% and 70% cacao is ideal. This range provides enough richness and depth without becoming overly bitter. Anything above 70% may make the mousse too intense for some palates.
- → How do I get clean slices when serving?
-
Use a sharp knife dipped in hot water and wiped dry between each cut. The warmth helps the blade glide through the mousse cleanly. Chill the cake for the full recommended time before attempting to slice.
- → Can I substitute the gelatin with a plant-based alternative?
-
Yes, agar-agar can replace gelatin for a fully vegetarian version. Use roughly 1 teaspoon of agar-agar powder per sheet of gelatin, but always check the specific conversion on your product's packaging as strengths vary between brands.
- → Why did my mousse deflate after folding?
-
Overmixing is the most common cause. Fold the whipped cream and egg whites into the chocolate mixture gently using a large spatula, cutting through the center and folding around the edge. Stop as soon as no white streaks remain.