 Save to Pinterest
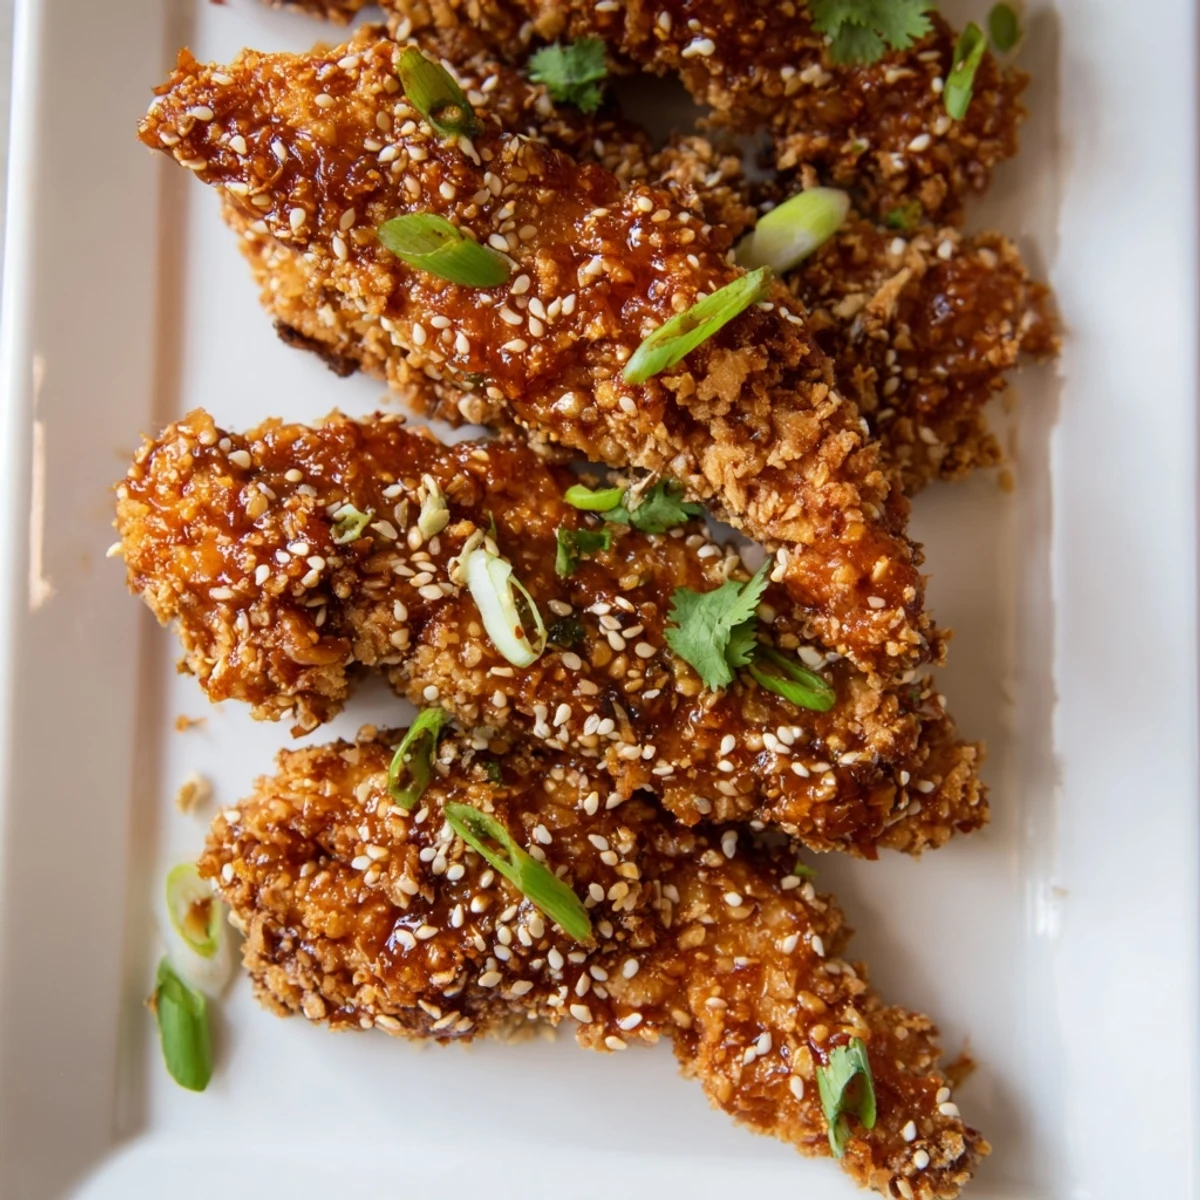
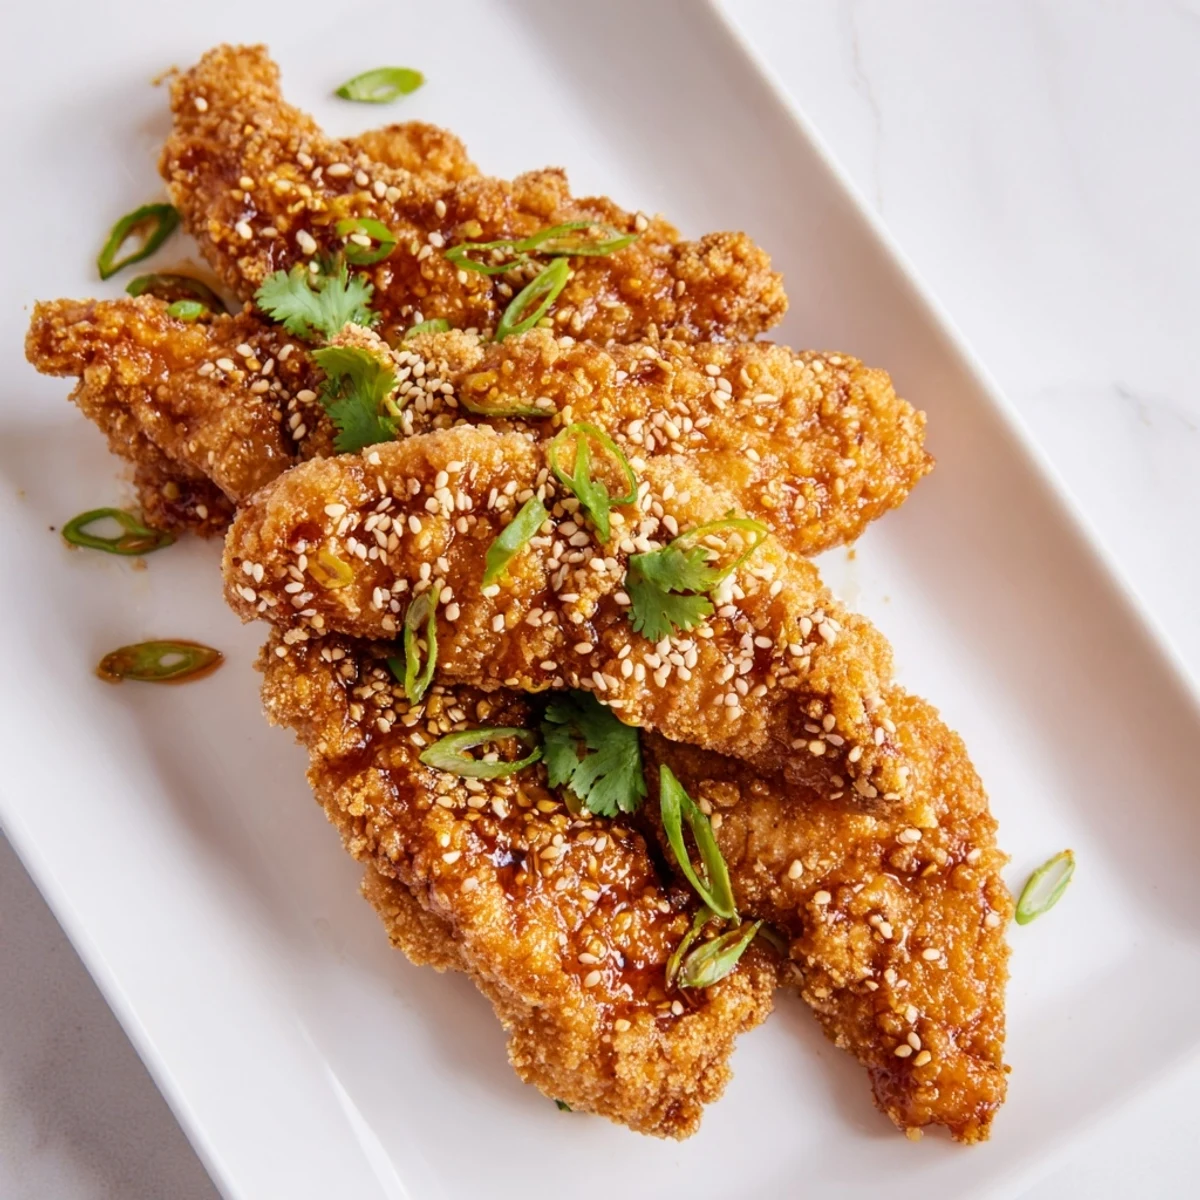
 These crispy chicken fingers start with tender strips coated in seasoned panko breadcrumbs, baked until golden and crunchy. The sticky Thai sauce combines sweet chili, soy sauce, honey, and aromatic ginger and garlic for an irresistible glaze. Perfect for parties, game day, or family dinner, these tenders come together in under an hour and deliver that restaurant-quality Asian fusion experience right from your oven.
The first time I made these Thai sticky chicken fingers, my kitchen smelled like garlic and sesame oil for days. My roommate wandered in mid-dredge, attracted by the sound of panko crunching under my fingertips, and ended up staying for dinner. We ate them standing up at the counter, burning our tongues on sauce that was too hot to wait for. Now they are the most requested thing at every game night.
I brought these to a potluck last winter and watched three people hover near the serving platter until the last one was gone. Someone actually asked for the sauce recipe before they even knew my name. The way the panko stays crispy even under that sticky glaze is something I wish I could figure out for every fried thing I make.
Ingredients
- Chicken tenders: Cutting breasts into strips works fine, but tenders have that natural shape that holds coating beautifully
- Salt and pepper: Do not skip seasoning the raw chicken first, otherwise the coating is the only thing with flavor
- Flour, eggs, and panko: The classic dredge trio gives you that shatteringly crisp exterior that bakes up surprisingly light
- Garlic powder and smoked paprika: These two in the breadcrumbs add depth before the sauce even hits the chicken
- Sweet chili sauce: The base of your glaze, look for one with actual chili flecks in the bottle
- Soy sauce: Adds that salty umami that keeps the sweetness from becoming cloying
- Honey and rice vinegar: Honey gives body while vinegar cuts through all that sugar
- Sesame oil: A little goes a long way, but it makes the sauce taste restaurant quality
- Sriracha: Optional if you are heat sensitive, but I recommend at least half a teaspoon
- Fresh garlic and ginger: The jarred stuff works in a pinch, but fresh makes the sauce sing
- Sesame seeds and spring onions: These are not just garnish, they add texture and a fresh bite
Instructions
- Get your oven ready:
- Preheat to 220°C (425°F) and line your baking tray with parchment paper for easy cleanup later
- Season the chicken:
- Sprinkle salt and pepper over both sides of your strips and let them sit while you set up the dredging station
- Set up three shallow bowls:
- Put flour in the first, beaten eggs in the second, and mix panko with garlic powder and smoked paprika in the third
- Coat each strip:
- Dredge in flour, shake off excess, dip in egg, then press into the panko mixture until well coated
- Arrange and prep:
- Place the coated strips on your prepared tray and lightly spray or brush with oil to help them crisp up
- Bake until golden:
- Cook for 20 to 25 minutes, turning halfway through, until the chicken is cooked through and the coating is deep golden brown
- Make the sauce:
- While chicken bakes, combine sweet chili sauce, soy sauce, honey, rice vinegar, sesame oil, sriracha, garlic, and ginger in a small saucepan over medium heat
- Simmer and thicken:
- Let the sauce bubble gently for 2 to 3 minutes, stirring constantly, until it coats the back of a spoon
- Coat and serve:
- Toss the baked chicken in the warm sauce, then top with sesame seeds, spring onions, and cilantro before serving
 Save to Pinterest
 My daughter helped me make these last weekend and took her job as official sauce stirrer very seriously. Watching her carefully drop each garnish seed on top made me realize how much of cooking is just paying attention to the little things.
Making Them Extra Crispy
Two minutes under the broiler at the very end transforms these from great to unforgettable. Watch them like a hawk because panko goes from golden to burnt in the blink of an eye.
Sauce Secrets
I have learned to make double the sauce and keep half separate for dipping. Some people like their chicken lightly glazed while others want it swimming in that sweet and spicy goodness. Having extra sauce on the table keeps everyone happy.
Serving Ideas
These work as an appetizer, but I have also built whole meals around them. Serve over jasmine rice with steamed broccoli on the side, or wrap them in lettuce cups for something lighter. They disappear fast either way.
- Set out extra napkins because sticky fingers are guaranteed
- A cold cucumber salad on the side cuts through the richness beautifully
- Make sure someone is assigned to refill the platter because guests will hover
 Save to Pinterest
 These have become my go-to for feeding a crowd without spending all day in the kitchen. Sometimes the simplest foods are the ones people remember most.
Recipe FAQs
- → Can I make these chicken fingers ahead of time?
-
Prepare the breaded chicken strips up to 24 hours in advance and store refrigerated. Bake just before serving for maximum crispiness. The sauce can also be made ahead and gently reheated when needed.
- → How do I store leftovers?
-
Store cooled chicken fingers in an airtight container in the refrigerator for up to 3 days. Reheat in a 200°C oven for 10-12 minutes to restore crispiness. Avoid microwaving as they'll become soggy.
- → Can I deep fry instead of bake?
-
Yes, deep fry at 180°C for 4-5 minutes until golden brown. Drain on paper towels before tossing with the sticky sauce. This method yields extra crispy results though baking is lighter.
- → What can I serve with these?
-
Jasmine rice, steamed vegetables, or fresh cucumber salad balance the sweet spicy flavors. They're also excellent with crispy noodles, lettuce wraps for DIY style, or simply with extra sauce for dipping.
- → How can I make them less spicy?
-
Omit the sriracha entirely and reduce sweet chili sauce to 80ml, replacing with additional honey. The heat level is easily adjustable to your preference while maintaining the delicious sticky coating.
- → Can I use frozen chicken tenders?
-
Thaw frozen chicken completely before breading. Pat them very dry with paper towels to ensure the coating sticks properly. Using fresh chicken tenders yields the best texture and results.
