 Save to Pinterest
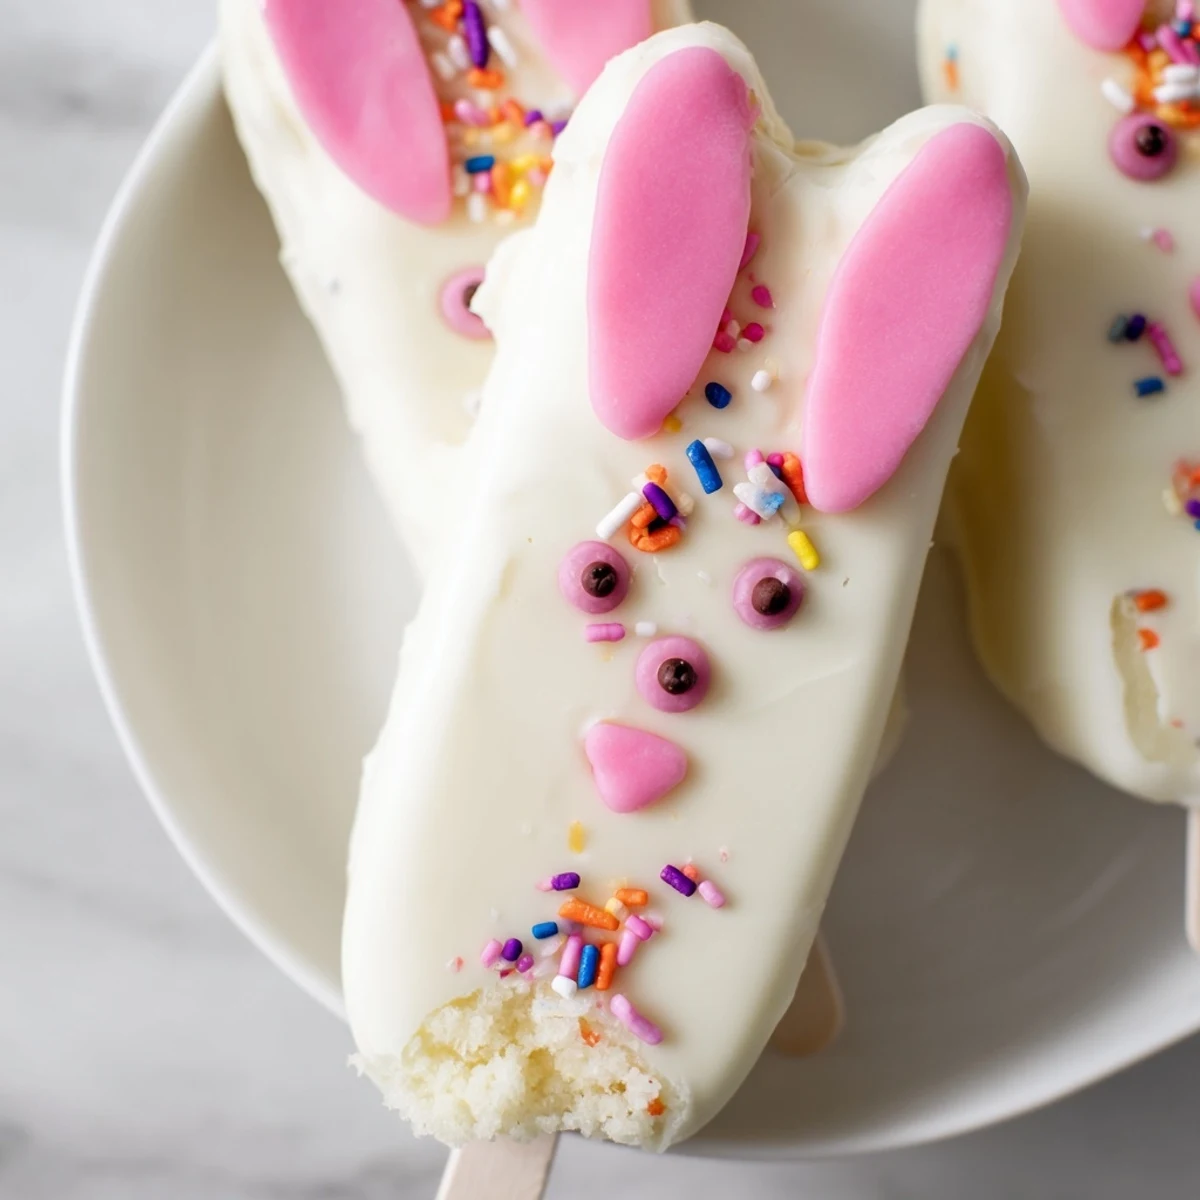
 Transform vanilla cake crumbs into adorable bunny-shaped treats perfect for Easter festivities. These cakesicles combine moist cake with luscious white chocolate coating, creating irresistible handheld desserts that both kids and adults will love. The process is straightforward: mix cake with cream cheese and butter, shape into bunny faces, insert sticks, chill until firm, then dip into melted white chocolate. Decorate with candy eyes, sprinkles, or fondant ears and noses for personalized touches. Make up to 8 festive treats in just one hour, including chill time. These charming desserts are ideal for Easter baskets, party favors, or as a fun weekend baking project with family.
My kitchen looked like a pastel explosion last Easter Sunday. Powdered sugar dusted every surface, and I had pink food coloring on my elbow somehow, but watching my nieces' eyes light up when they saw those little bunny faces peeking out from the cooling rack made every sticky moment worth it.
I discovered cake popsicles when my daughter's class needed holiday treats and I was desperate for something portable. Now they request them for every celebration, and I've learned that the stick changes everything somehow makes eating cake feel more like holding an ice cream cone.
Ingredients
- Vanilla cake crumbs: Save leftover cake or crush store-bought cupcakes, homemade gives deeper flavor but nobody will know either way
- Cream cheese: Room temperature is non-negotiable here, cold cream cheese creates lumps that refuse to blend
- Unsalted butter: Softened for 20 minutes minimum, it acts as the glue holding your cake together
- Powdered sugar: Sift it first or risk tiny sweet lumps in your smooth mixture
- Vanilla extract: Pure vanilla makes a noticeable difference in such a simple recipe
- White chocolate: Candy melts coat smoother than baking bars, but good quality white chocolate tastes significantly better
- Cakesicle sticks: Paper sticks work fine but wooden ones feel sturdier for little hands
Instructions
- Mix your cake base:
- Combine crumbs, cream cheese, butter, powdered sugar, and vanilla in a medium bowl. The mixture should hold together when squeezed but still feel slightly crumbly, not wet or sticky.
- Shape the bunnies:
- Divide into 8 portions and press each into an oval with a slightly pointed top for ears. Work quickly with slightly damp hands to prevent sticking.
- Add sticks and chill:
- Gently insert sticks about halfway into each shape, wiggling slightly to secure. Refrigerate at least 20 minutes or until firm to the touch.
- Melt the coating:
- Heat white chocolate in 30-second bursts, stirring between each. Stop when just a few lumps remain and stir until completely smooth.
- Dip and decorate:
- Dip each cakesicle straight down, lift slowly, and tap gently against the bowl edge to remove excess. Add decorations immediately while coating is still tacky.
 Save to Pinterest
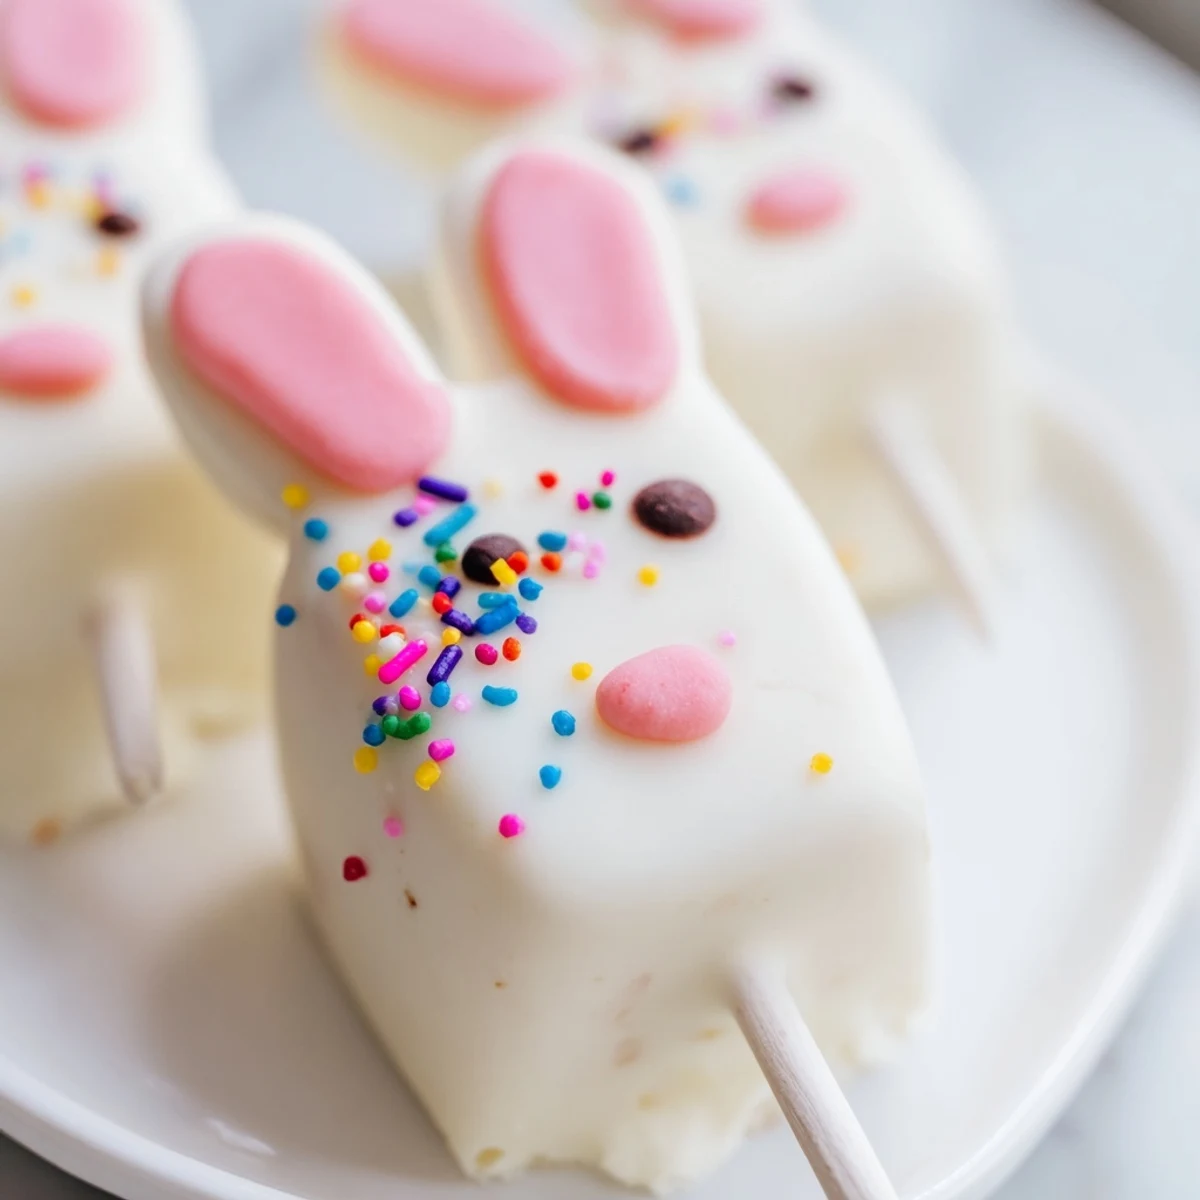
 Last year I made thirty of these for a neighborhood egg hunt and parents were more excited than the kids. Something about bite-sized cake on a stick brings out the child in everyone.
Getting The Shape Right
I learned that slightly imperfect faces look more charming than trying to make them identical. The first few attempts looked lopsided until I realized pressing the mixture into a tablespoon first helped create consistent base shapes.
Decoration Magic
Sprinkles need to be added within 30 seconds of dipping or they slide right off. Candy eyes positioned while the chocolate is still wet stay put forever, but adding details with food coloring gel after everything sets gives you more control.
Make Ahead Magic
You can form the cake centers up to two days before dipping, stored tightly wrapped in the refrigerator. The decorated cakesicles keep beautifully for three days in the fridge.
- Separate layers with wax paper to prevent sticking
- Bring to room temperature 15 minutes before serving for best texture
- Avoid freezing once decorated, the coating can crack
 Save to Pinterest
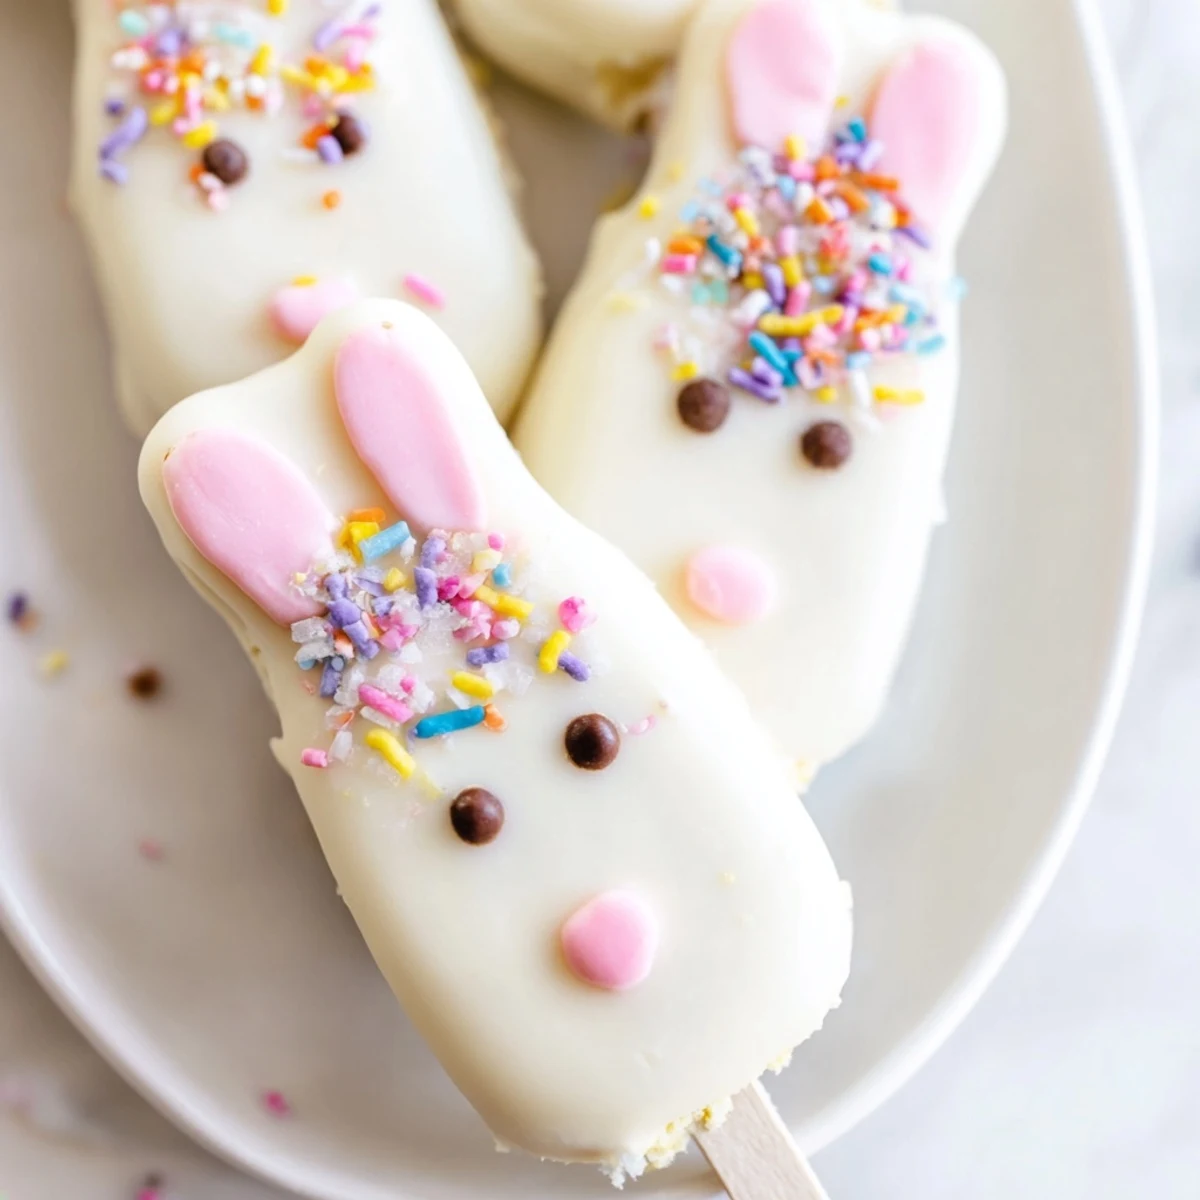
 These disappear faster than any other Easter dessert I've made. Something about eating cake on a stick makes people reach for seconds.
Recipe FAQs
- → How long do cakesicles stay fresh?
-
Cakesicles stay fresh for up to 3 days when stored in an airtight container in the refrigerator. The cool environment prevents the white chocolate coating from melting and maintains the cake's moisture. For best results, layer them between parchment paper to prevent sticking.
- → Can I use different cake flavors?
-
Absolutely! While vanilla cake crumbs provide a classic neutral base, you can experiment with chocolate, lemon, red velvet, or spice cake. The flavor options are endless—just ensure the cake is thoroughly crumbled and mixed with the binding ingredients for the best texture.
- → What's the best way to melt white chocolate?
-
Melt white chocolate in a microwave-safe bowl using 30-second intervals at 50% power, stirring between each burst. This prevents overheating and seizing. Alternatively, use a double boiler on the stovetop with simmering water, ensuring no water contacts the chocolate.
- → Do I need a special mold for cakesicles?
-
While cakesicle molds help create uniform shapes, they're not essential. You can hand-shape the mixture into flattened ovals or bunny faces using your hands or a spoon. The key is achieving consistent thickness for even coating and proper stick insertion.
- → How can I prevent the sticks from falling out?
-
Ensure the cake mixture is well-chilled before inserting sticks—refrigerate the shaped bunnies for 20-30 minutes first. Insert the stick about halfway into the cake, then gently press the cake around the base to secure it. The chilled mixture holds the stick firmly during dipping.
- → Can I make these ahead for a party?
-
Yes! Prepare the cakesicles up to 2 days in advance and store them refrigerated in an airtight container. Add final decorations like food coloring details on the day of serving for the freshest appearance. Allow them to come to room temperature for about 15 minutes before serving.
