 Save to Pinterest
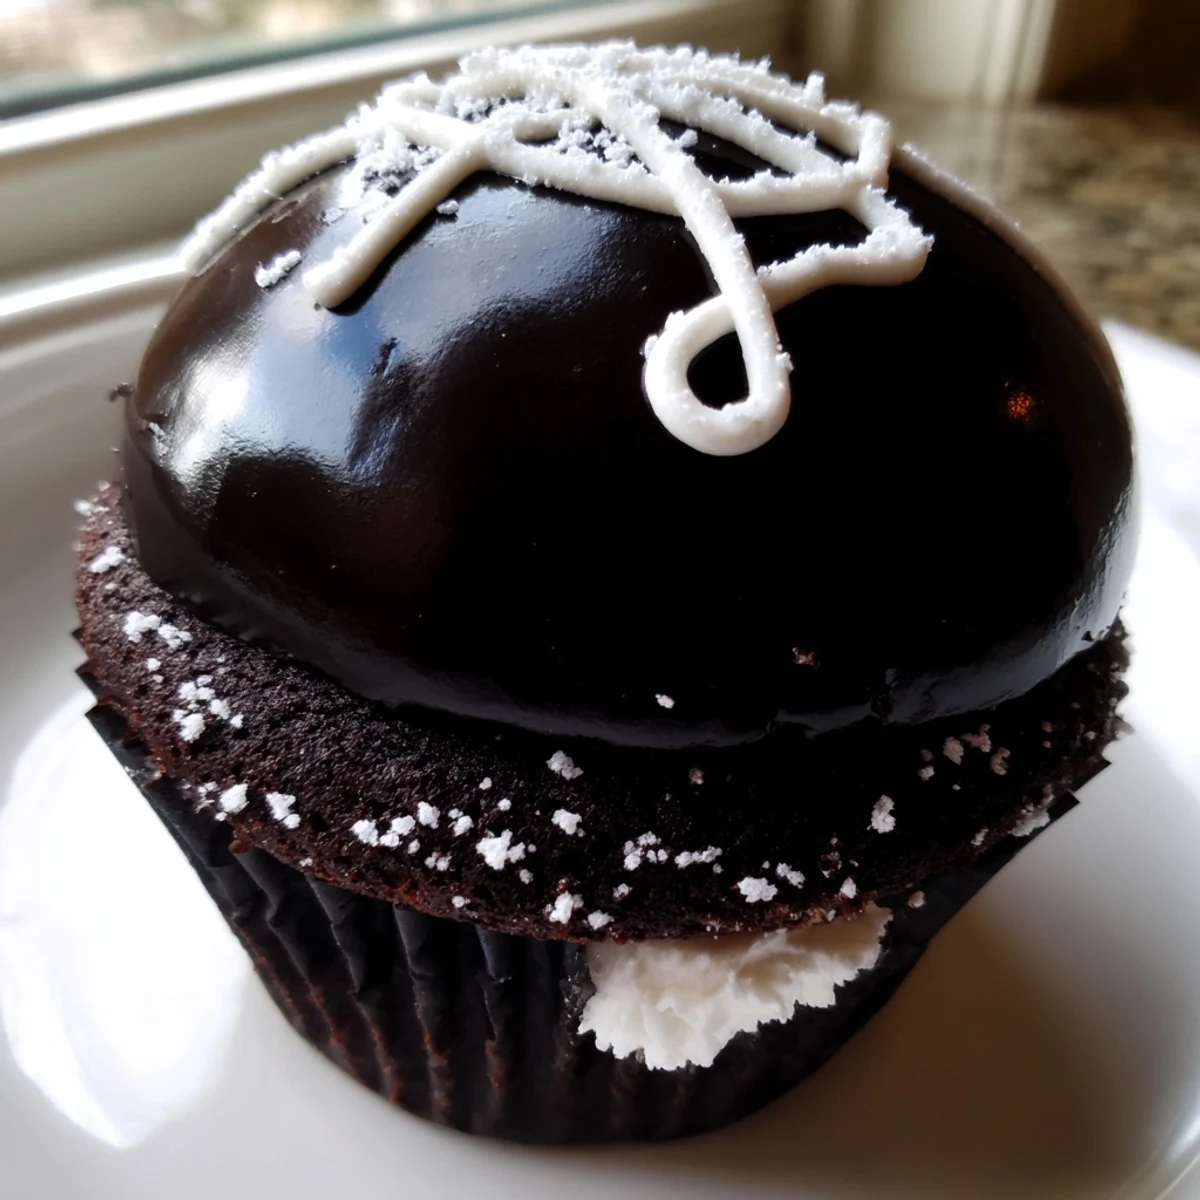
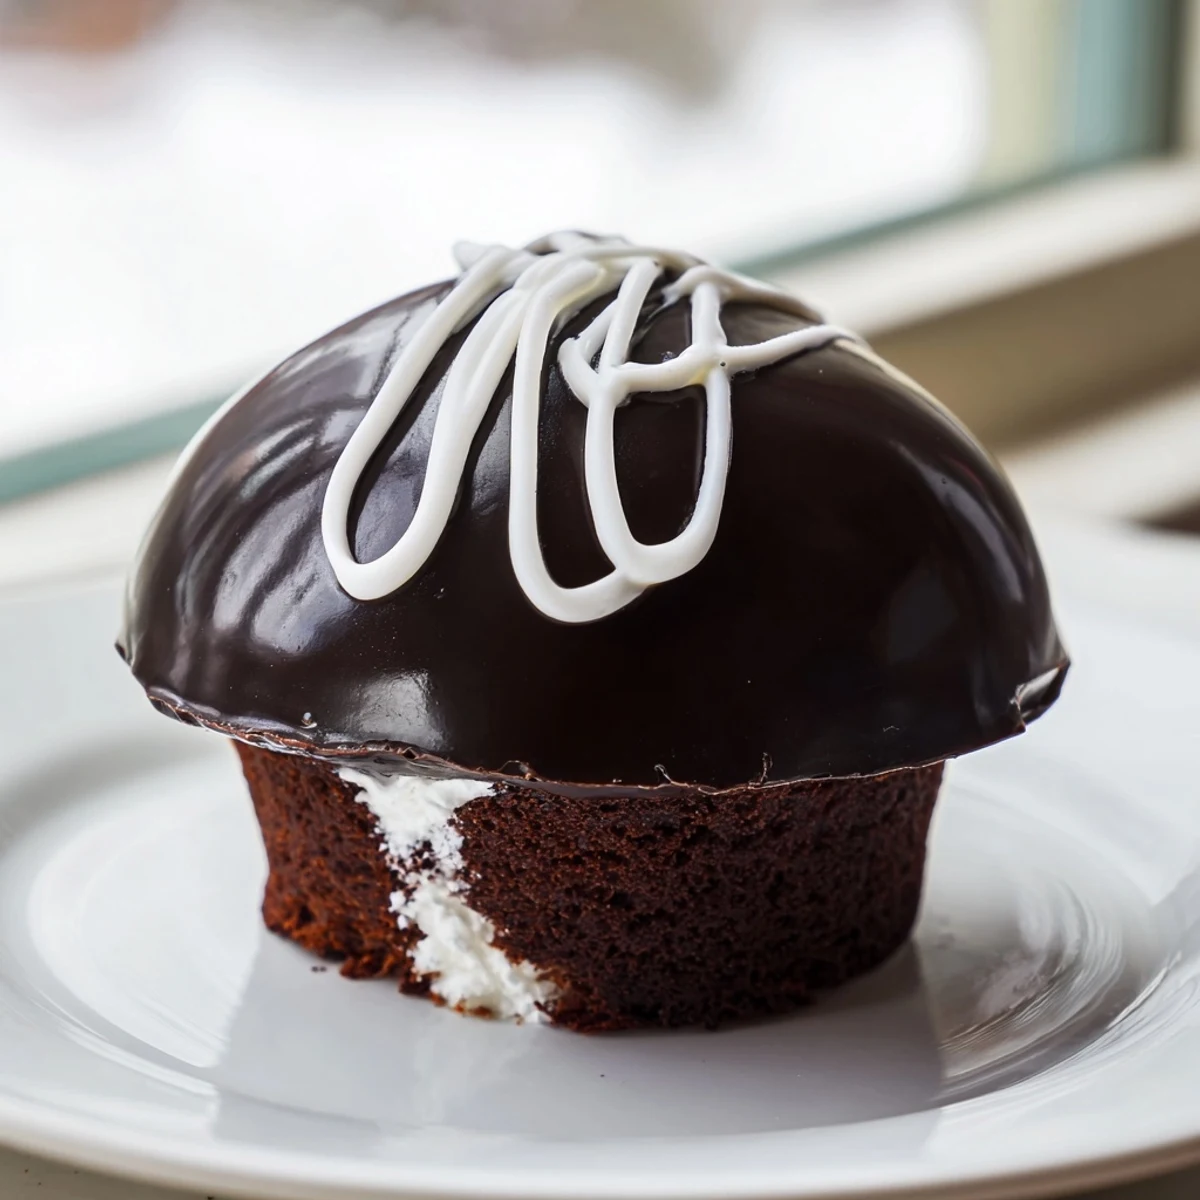
 These homemade Hostess-style cupcakes bring together everything you love about the iconic treat: a tender, deeply chocolatey cake base, a fluffy marshmallow cream center, and a mirror-smooth chocolate ganache top finished with that signature white icing swirl.
While they look impressive, the process is straightforward. The chocolate cupcake batter comes together in one bowl and bakes up soft and moist. Once cooled, a small well is carved from the center and filled with a whipped butter-marshmallow creme mixture that tastes like a cloud. The ganache sets into a shiny shell, and a quick powdered sugar drizzle completes the look.
Perfect for birthdays, bake sales, or anytime you crave a nostalgic dessert, these cupcakes store well in the fridge for up to three days. Just bring them to room temperature before serving for the best texture.
The distinctive white swirl on top of a Hostess cupcake is one of those childhood images burned into my brain, right alongside Saturday morning cartoons and grass stained knees. My mother never bought them often, which only made them more mythical in my eyes. Years later, standing in my own kitchen with flour on my forehead and a piping bag in hand, I realized that recreating them from scratch was less about perfection and more about recapturing that wide eyed feeling. These homemade versions taste richer, softer, and honestly better than the packaged ones ever did.
I brought a batch of these to a friends potluck last fall and watched a grown man eat three in a row without making eye contact with anyone. He later asked if I could make him a full cake sized version for his birthday, which I declined because some things are better in their original form. The kids at the party treated them like treasure, peeling back the liner slowly to examine the filling inside. That reaction alone was worth every minute of assembly.
Ingredients
- All-purpose flour (1 cup): Provides the structure without making the crumb dense, so measure with a light hand and spoon it into the cup.
- Unsweetened cocoa powder (½ cup): The soul of the chocolate flavor here, and Dutch processed will give you a deeper, more sophisticated taste if you have it.
- Granulated sugar (1 cup): Balances the cocoa bitterness and keeps the crumb tender, so do not be tempted to reduce it.
- Baking soda and baking powder (½ teaspoon and 1 teaspoon): Used together because the cocoa is acidic and the buttermilk adds its own tang, so both leavening agents pull their weight.
- Salt (¼ teaspoon): Just enough to sharpen every flavor without announcing itself.
- Buttermilk (½ cup, room temperature): Adds moisture and a slight tang that makes the chocolate taste more complex, and cold buttermilk can cause the batter to seize.
- Vegetable oil (½ cup): Oil keeps these cupcakes softer than butter would, and they stay tender even after a day in the fridge.
- Eggs (2 large, room temperature): They bind and lift the batter, and room temperature eggs incorporate more evenly into the mix.
- Vanilla extract (2 teaspoons): Good vanilla is the quiet backbone of both the cake and the filling, so use the real stuff if you can.
- Hot water (½ cup): Blooms the cocoa powder and thins the batter, which sounds wrong but produces the most tender crumb.
- Unsalted butter for filling (⅓ cup, softened): The creamy base of the filling, and softened means it should yield easily when pressed with a finger, not melted.
- Powdered sugar for filling (¾ cup): Sweetens and stabilizes the filling so it holds its shape inside the cupcake.
- Marshmallow creme (1 cup): This is the secret to that stretchy, nostalgic filling texture that tastes like childhood in the best way.
- Milk for filling (1 to 2 teaspoons if needed): Only add if the filling feels too stiff to pipe, and go slowly because a little liquid goes a long way.
- Semi-sweet chocolate chips (½ cup): Melted into ganache for the shiny top, and choose a brand you would eat by the handful.
- Heavy cream (¼ cup): Transforms the chocolate into a silky, dipable glaze that sets with a beautiful sheen.
- Powdered sugar for swirl (¼ cup): Mixed with a splash of milk to create the iconic white squiggle on top.
- Milk for swirl (1 teaspoon plus more): Added gradually until the icing flows smoothly but still holds its shape when piped.
Instructions
- Get the oven ready:
- Preheat your oven to 350°F and line a standard 12-cup muffin tin with paper liners, setting them on the counter where you can reach them easily.
- Build the dry foundation:
- In a large mixing bowl, whisk together the flour, cocoa powder, sugar, baking soda, baking powder, and salt until everything is evenly distributed and free of lumps.
- Add the wet ingredients:
- Pour in the buttermilk, oil, eggs, and vanilla, then mix gently until just combined before adding the hot water and stirring until the batter is smooth and surprisingly thin.
- Fill and bake:
- Divide the batter evenly among the liners, filling each about two thirds full, then bake for 18 to 20 minutes until a toothpick inserted in the center comes out clean and the tops spring back lightly.
- Cool completely:
- Transfer the cupcakes to a wire rack and let them cool entirely because even slightly warm cupcakes will melt the filling into a sad puddle.
- Make the cream filling:
- Beat the softened butter until light and creamy, then add the powdered sugar and beat for a minute before mixing in the marshmallow creme and vanilla until the filling is fluffy and spreadable.
- Core and fill:
- Use a small knife or cupcake corer to remove a shallow well from the center of each cooled cupcake, then pipe the filling into each hole and gently replace the tops if you saved them.
- Prepare the ganache:
- Heat the heavy cream in a small saucepan until it steams but does not boil, pour it over the chocolate chips, let it sit for two minutes, then stir until you have a glossy, velvety mixture.
- Coat the tops:
- Spoon the ganache over each cupcake or dip them upside down, then let the glaze set at room temperature until it loses its wet shine.
- Pipe the iconic swirl:
- Mix the powdered sugar with just enough milk to make a thick but pipeable icing, transfer it to a piping bag with a fine tip, and draw the classic white loops across each cupcake top.
 Save to Pinterest
 Somewhere between piping the filling and drawing that last white squiggle, I realized these cupcakes had become my go-to whenever someone needed cheering up. There is something about handing a person a small, personal chocolate cake filled with marshmallow cream that no store bought version can replicate. It is a tiny edible gesture that says you matter enough for me to spend an afternoon in the kitchen.
Getting the Filling Just Right
The filling should taste like the inside of a dream, pillowy and sweet with a slight stretch when you pull the cupcake apart. If your marshmallow creme is stubborn and clings to the bowl, a brief ten second warm up in the microwave makes it more cooperative. Beat the filling longer than you think necessary because the extra air is what gives it that cloud like texture people love. Taste it before you pipe, and if it makes you close your eyes and smile, you have the consistency right.
Making the Ganache Behave
Ganache is forgiving as long as you respect the temperature, meaning the cream should steam but never bubble aggressively. If the chocolate seizes and refuses to smooth out, a teaspoon of warm cream stirred in patiently usually rescues it. The coating should be thick enough to coat the back of a spoon but fluid enough to settle smoothly on the cupcake without dragging crumbs. Work with the ganache while it is still warm because once it firms up, spreading becomes a losing battle.
Nailing the White Swirl
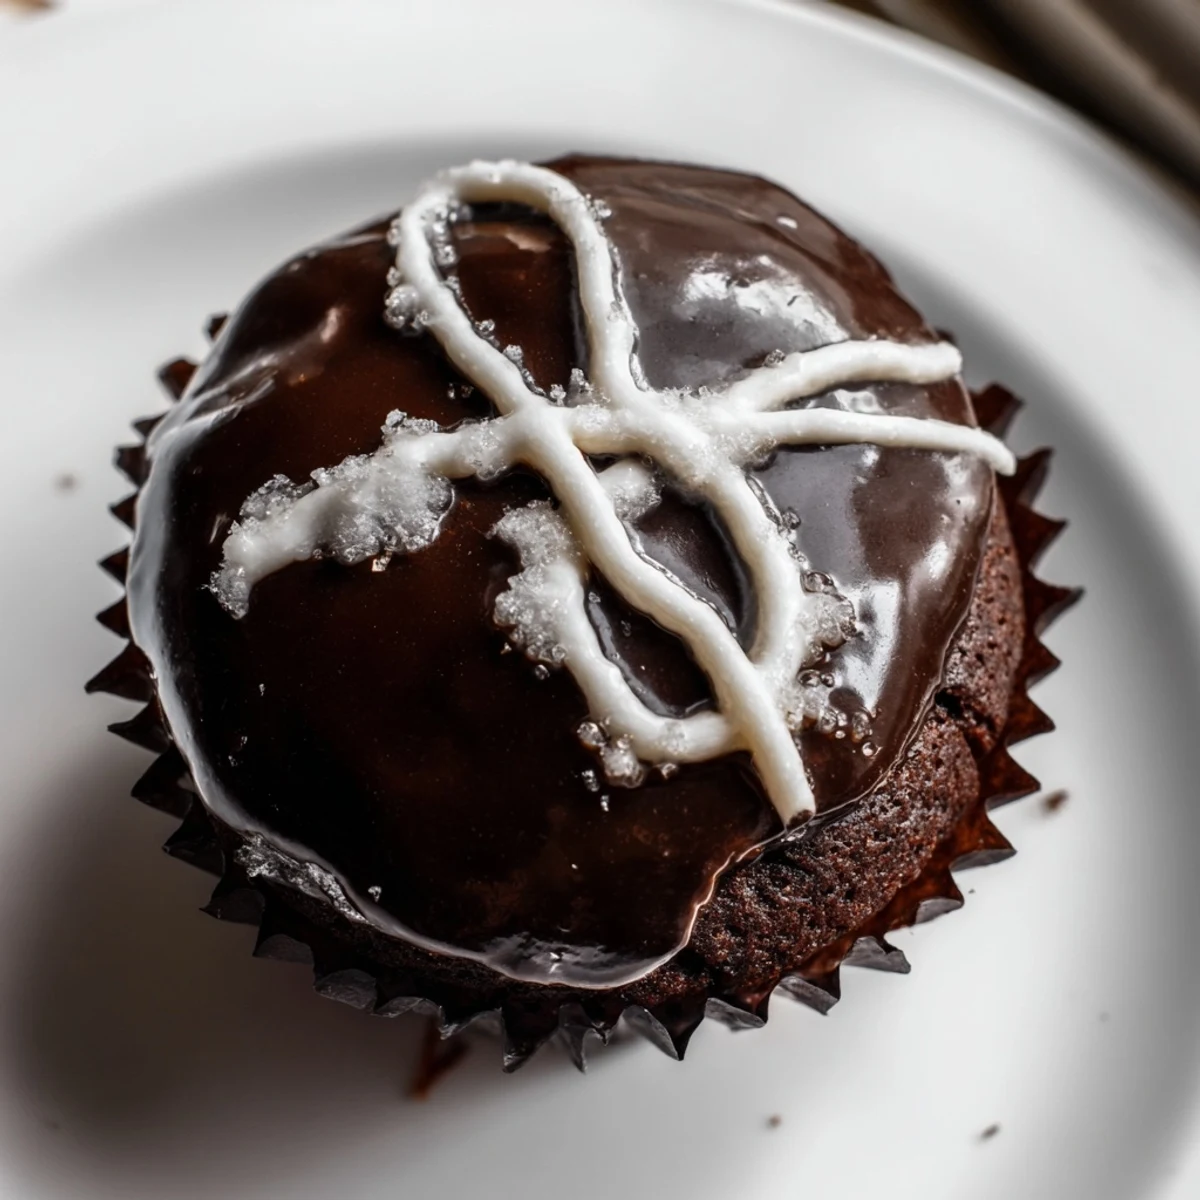
The swirl is pure theater and the part everyone recognizes, so it deserves a little extra care even though it is the simplest component. The icing needs to be thick enough to hold its shape on the ganache but thin enough to flow smoothly from the tip without breaking. Practice on a piece of parchment paper first if you want to get the rhythm of the loops before committing to the real thing. Remember that the beauty is in the imperfection because even the original Hostess swirls were never perfectly symmetrical.
- A zip top bag with a tiny corner snipped off works just as well as a piping tip if you do not have one.
- Let the ganache set for at least fifteen minutes before piping or the white icing will bleed into it.
- If the icing sugars up as it sits, knead the bag gently to restore its smooth texture.
 Save to Pinterest
 These cupcakes are worth every messy moment, and watching someone bite into one and immediately look for another is the best kind of kitchen reward. Keep them chilled, share them generously, and never apologize for eating the ugly ones yourself.
Recipe FAQs
- → How do I get a clean center hole for the filling?
-
Use a small paring knife or a dedicated cupcake corer to cut a cone-shaped piece from the center of each cooled cupcake. Cut about three-quarters of the way down, twist gently, and lift out the cone. Save the tops if you want to replace them after filling, or simply pipe the filling flush with the surface.
- → Can I make the marshmallow filling ahead of time?
-
Yes, you can prepare the cream filling up to two days in advance. Store it covered in the refrigerator, then let it come to room temperature and give it a quick re-whip before piping so it returns to a fluffy, pipeable consistency.
- → Why is my cupcake batter so thin and runny?
-
Don't worry—this is completely normal. The hot water thins out the batter considerably, which actually helps produce a moist, tender crumb. The cupcakes will bake up perfectly with a light, even texture despite the watery-looking batter.
- → What's the best way to coat the tops with ganache?
-
Spoon a generous amount of ganache onto each cupcake top and use the back of the spoon to gently spread it to the edges, letting any excess drip off. Work while the ganache is still warm and fluid. Alternatively, you can carefully dip each cupcake top-down into the ganache and twist to coat.
- → How should I store leftover cupcakes?
-
Place them in an airtight container and refrigerate for up to three days. The ganache and filling firm up when chilled, so let them sit at room temperature for about 30 minutes before eating. This brings back the soft cake texture and creamy center.
- → Can I use Dutch-processed cocoa powder instead of natural?
-
Absolutely. Dutch-processed cocoa will give the cupcakes a deeper, richer chocolate flavor and a darker color. Since the leavening agents include both baking soda and baking powder, either type of cocoa powder works well in this batter.